|
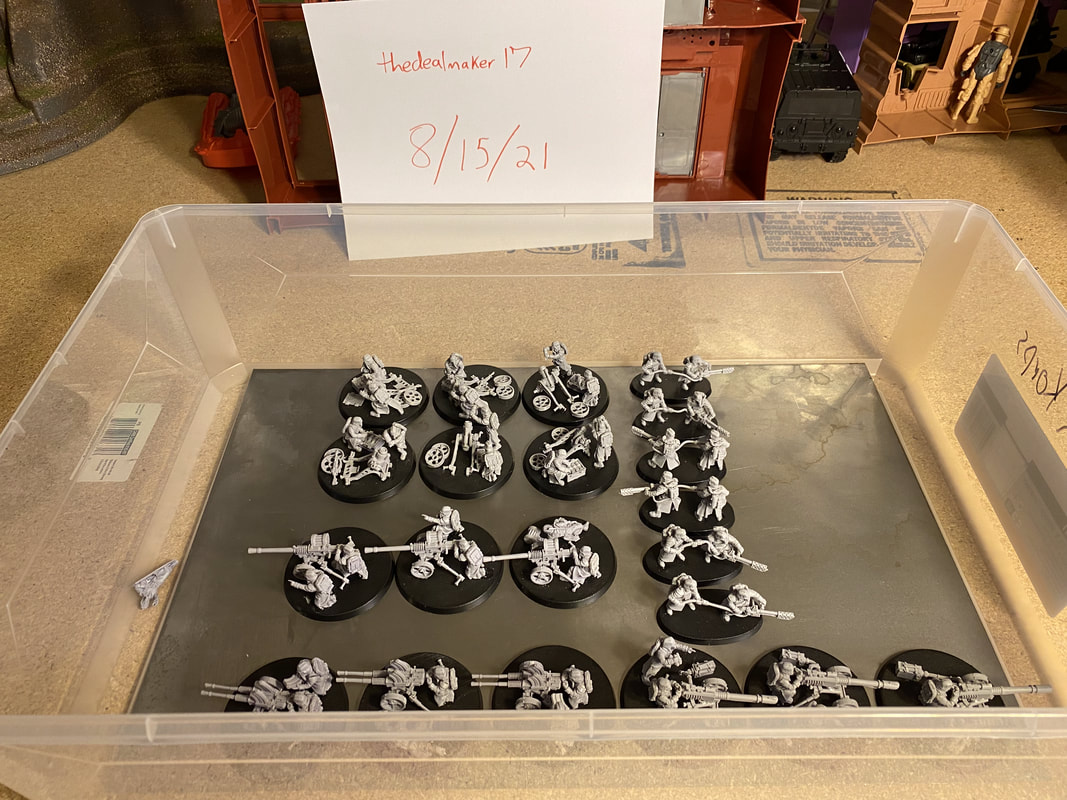
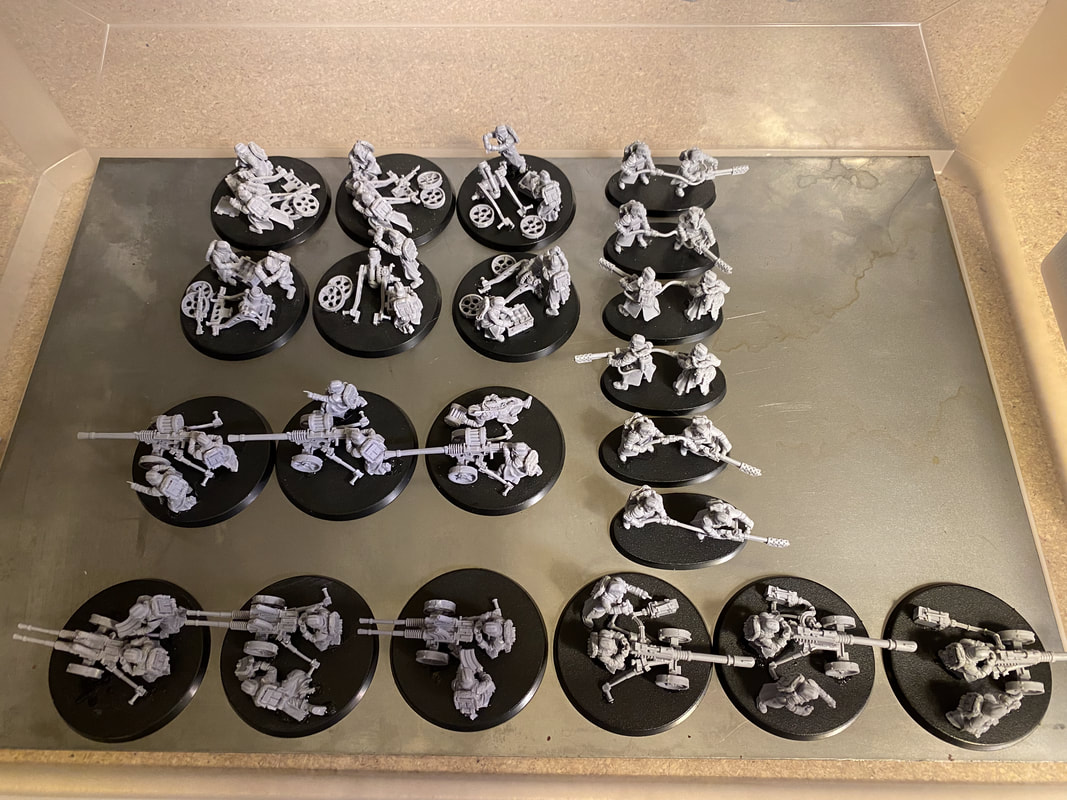
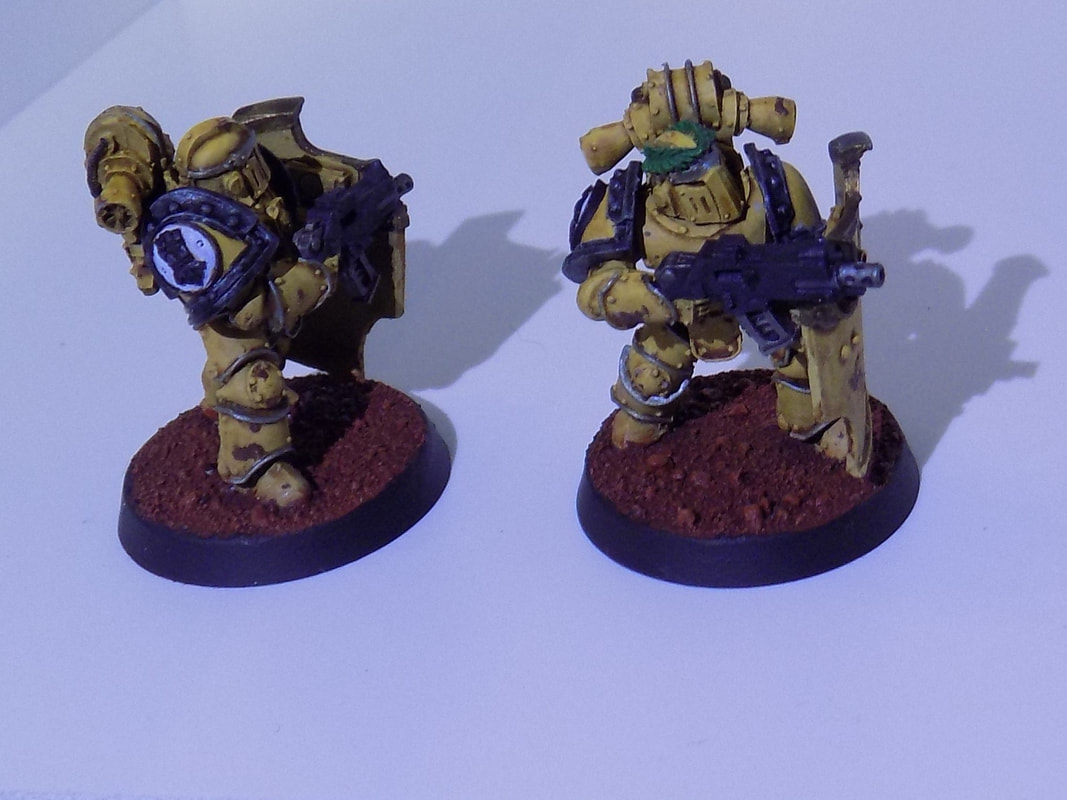
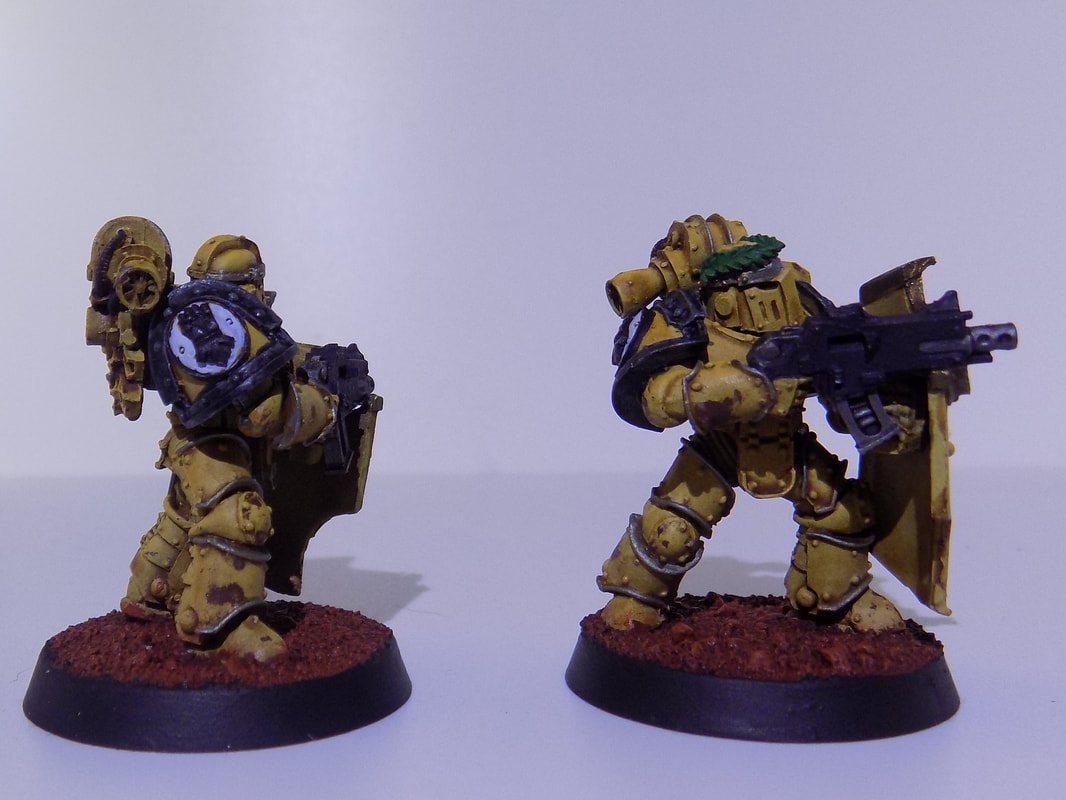
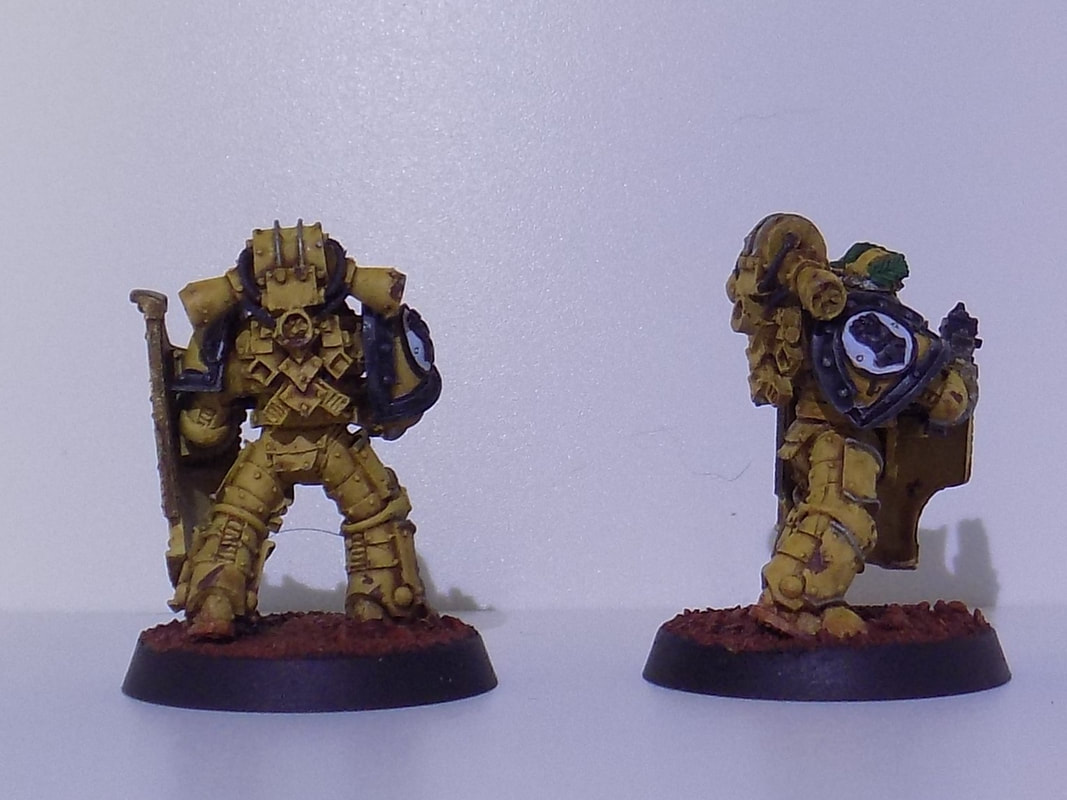
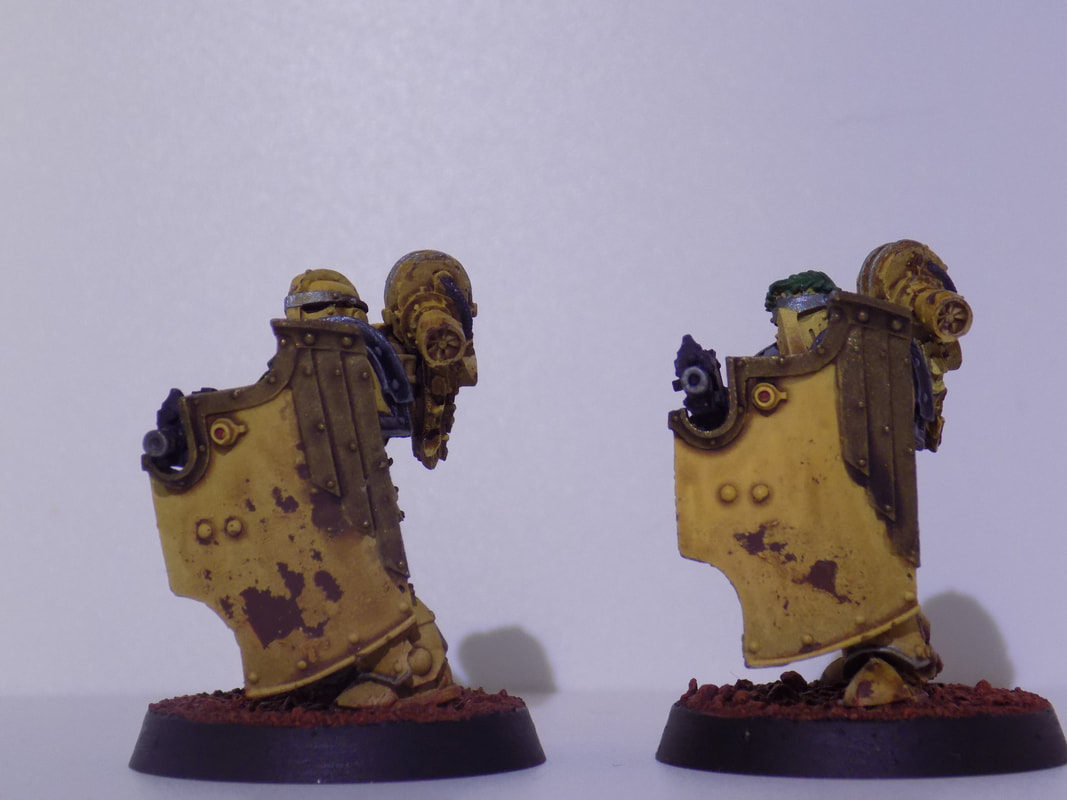
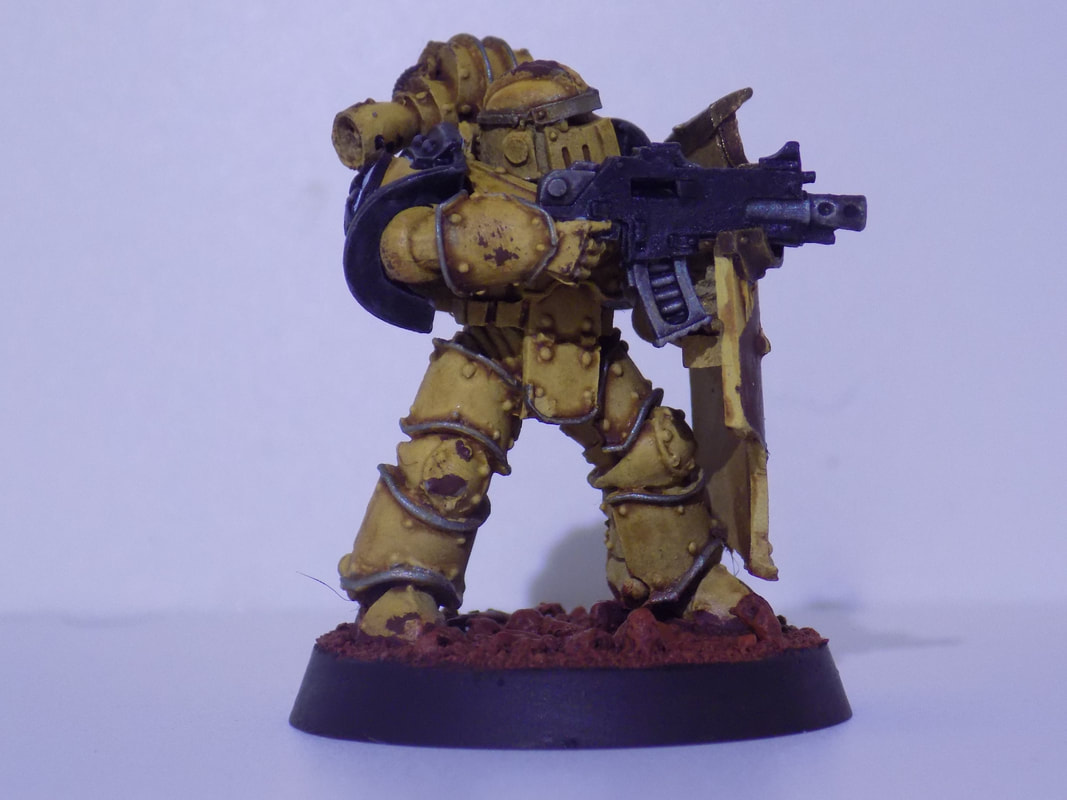
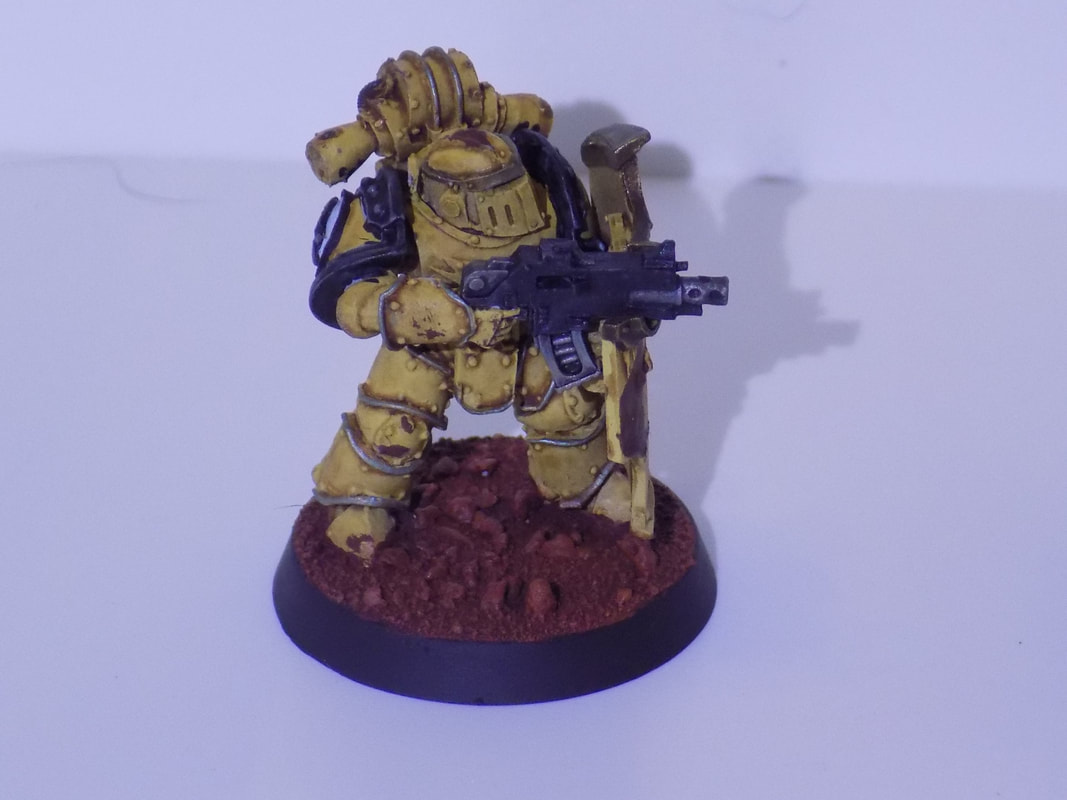
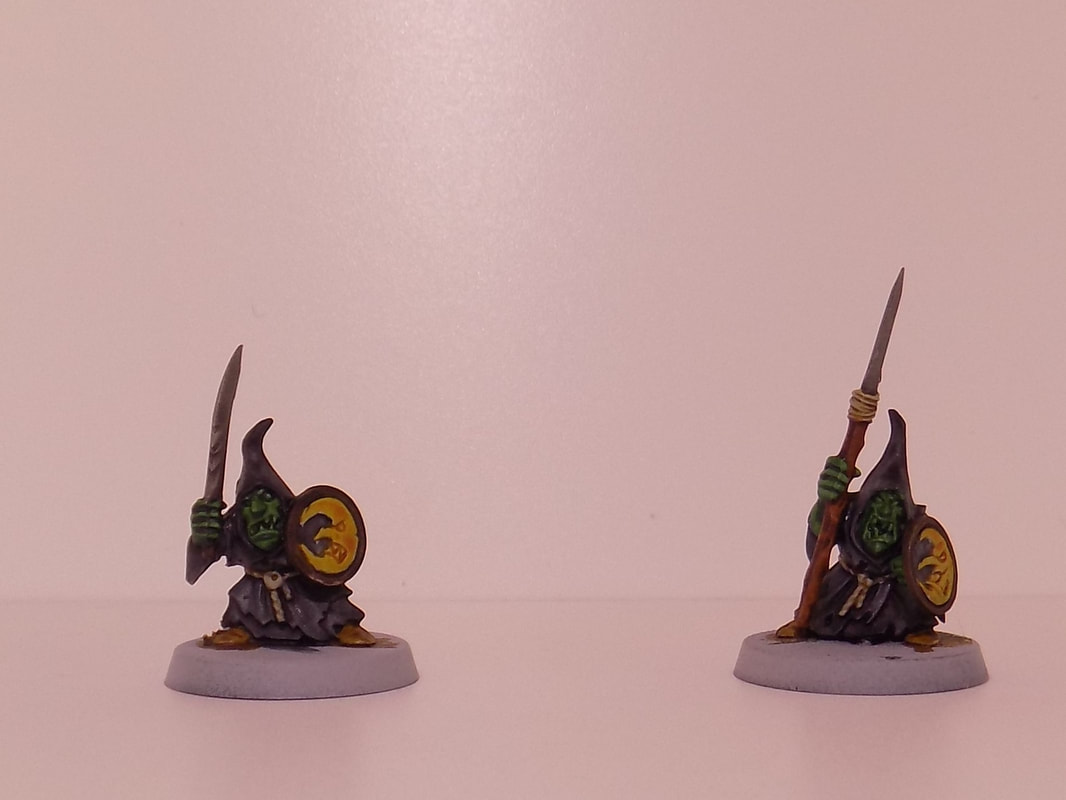
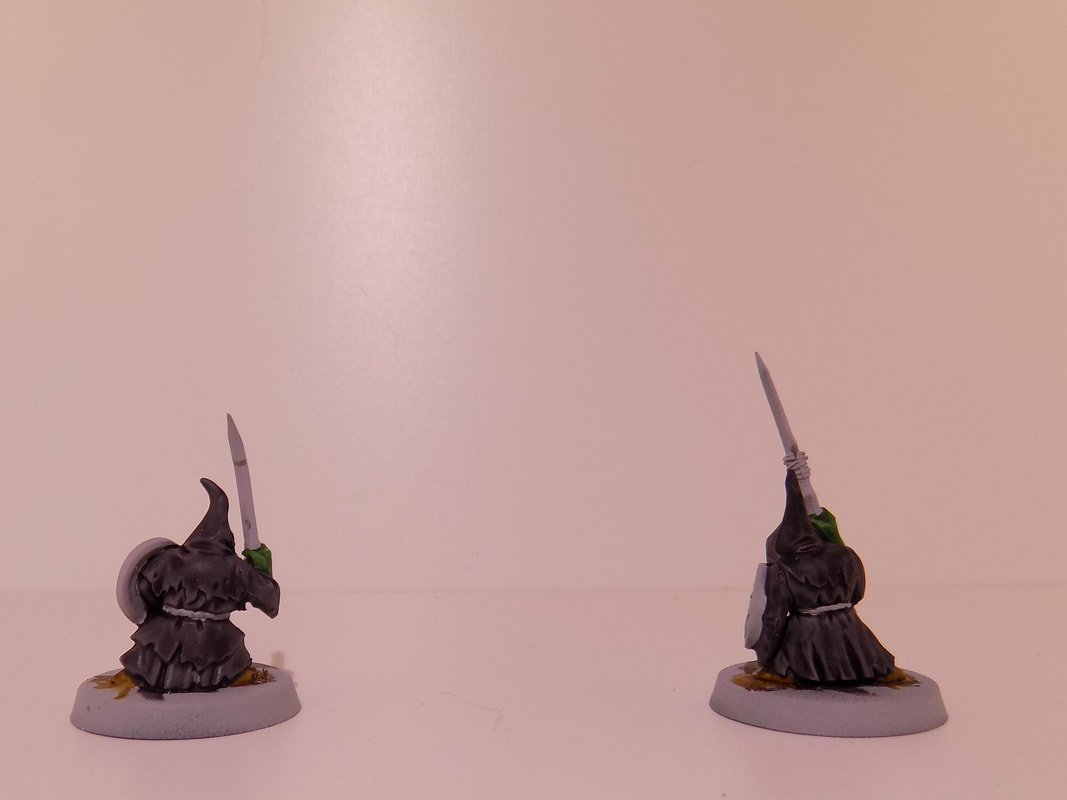
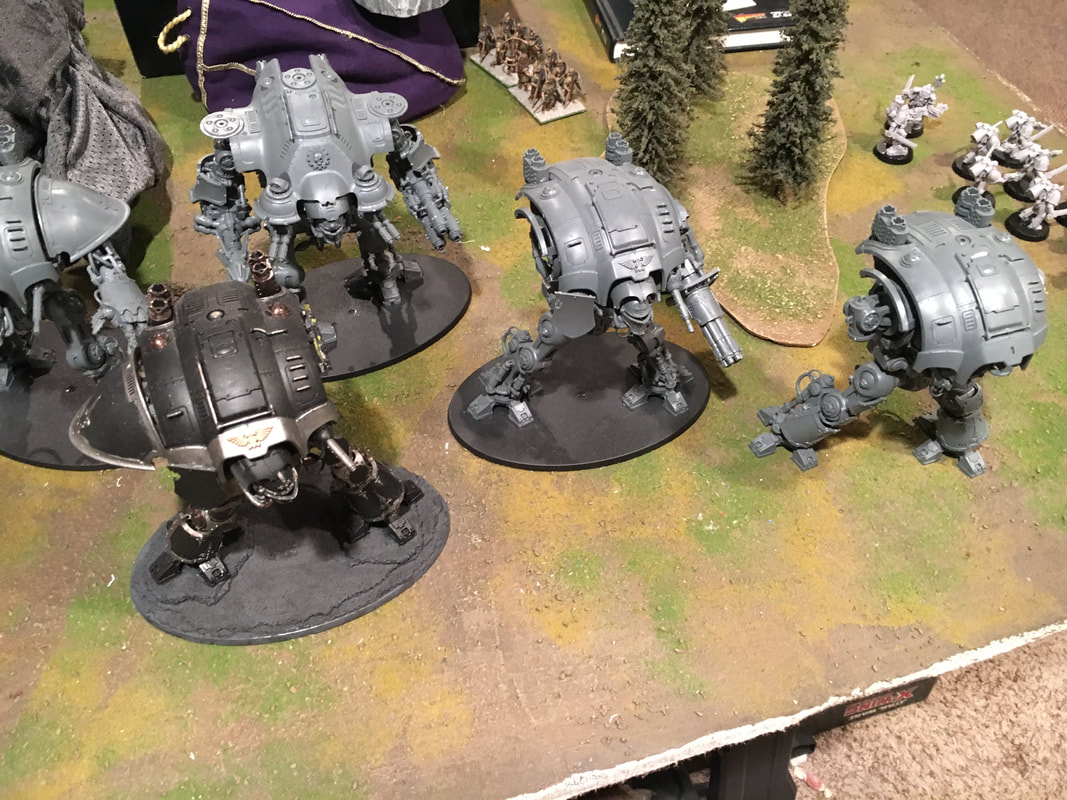
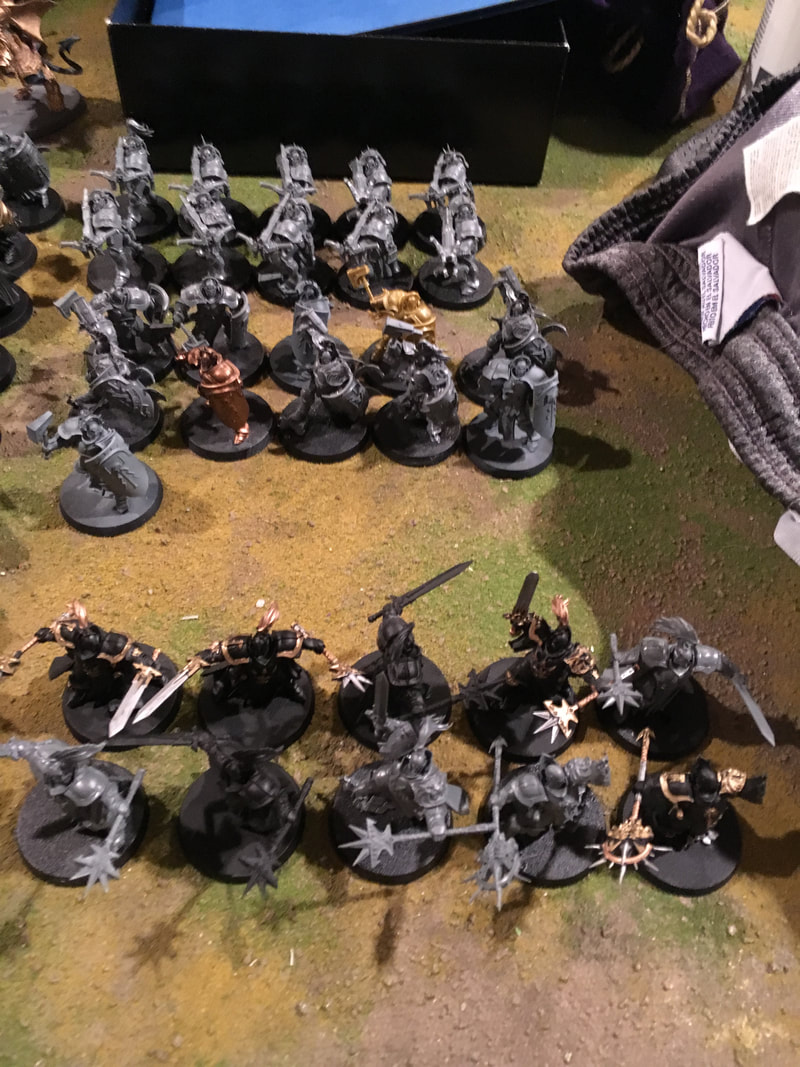
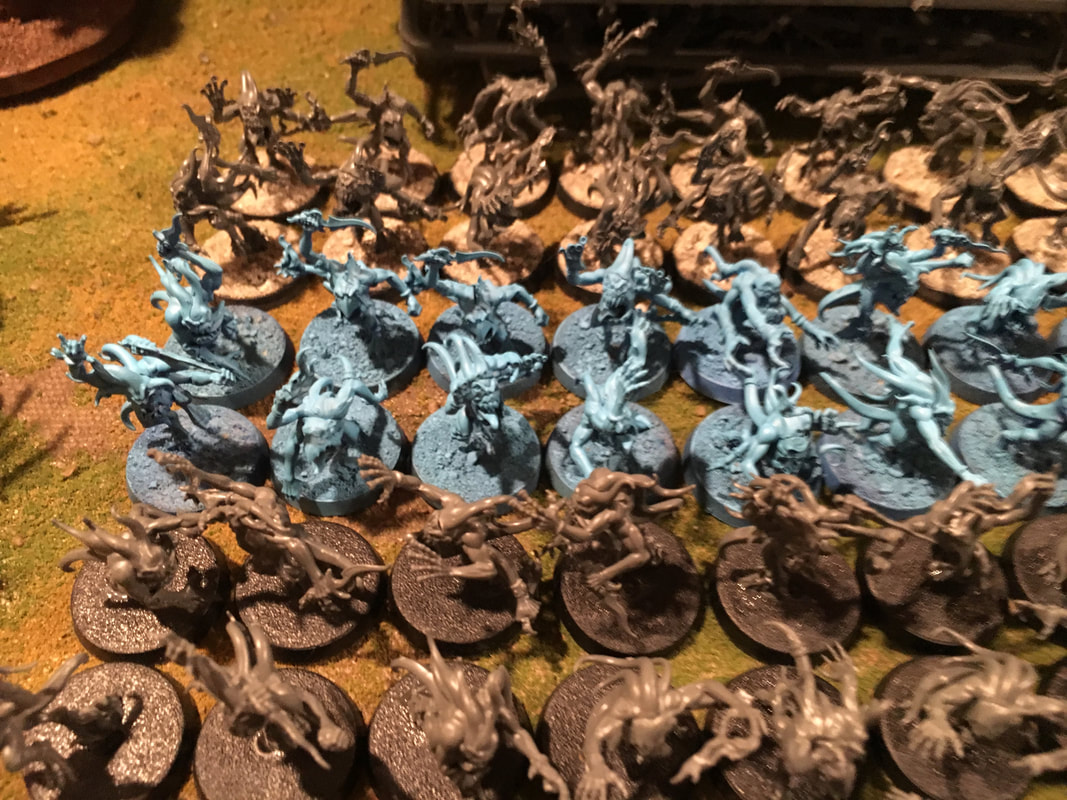
In addition to working on getting my Gloomspite Gitz "battle ready," I'm also working on some 30k Imperial Fists. I didn't take pictures of these 10 Breachers along the way, but here are some finished shots! Pics didn't turn out amazing, still working on getting a good photo setup. Think I need some daylight lamps. Anyway, here are the better ones I took. Well, the first three test models for the Gloomspite Gitz utilizing (mostly) Contrast Paint are finished. The final stage was bases, which Contrast was not very useful for. So, instead I went with an old standby for generic earthen tones. Base colors are - German Camo Medium Brown > wash with Agarax Earthshade > drybrush GCMB > drybrush German Camo Beige. Nice and simple. Pics didn't turn out great today. But overall, from looking at them up close, I can say Contrast Paint is worth the investment and is pretty cool. I would say that the best use for it is for someone of intermediate painting ability that wants to get a lot of models done very fast. It's not foolproof and it can be annoying when mistakes are made. I suggest working with darkest shades first, because if you get a bit of a lighter color on, say, Black Templar, it might not show.
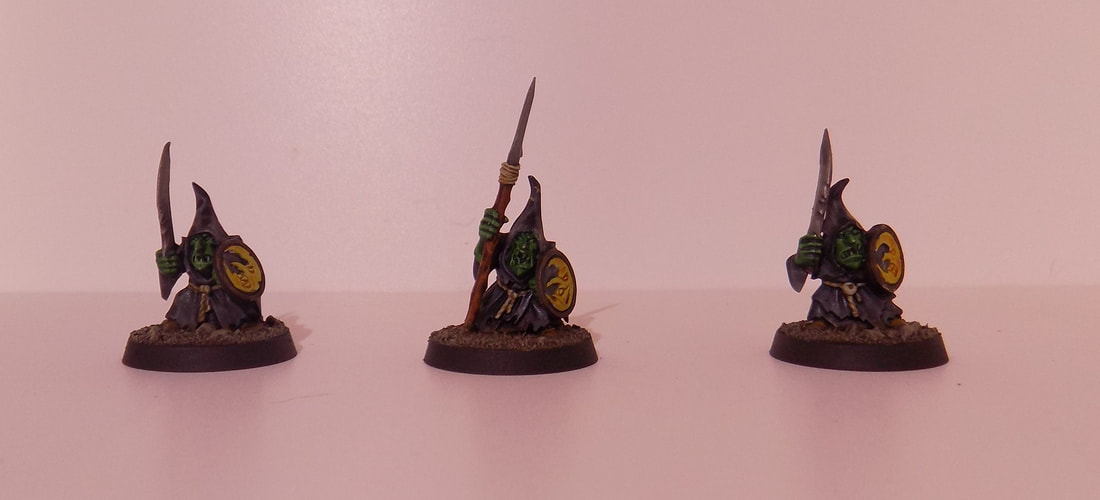
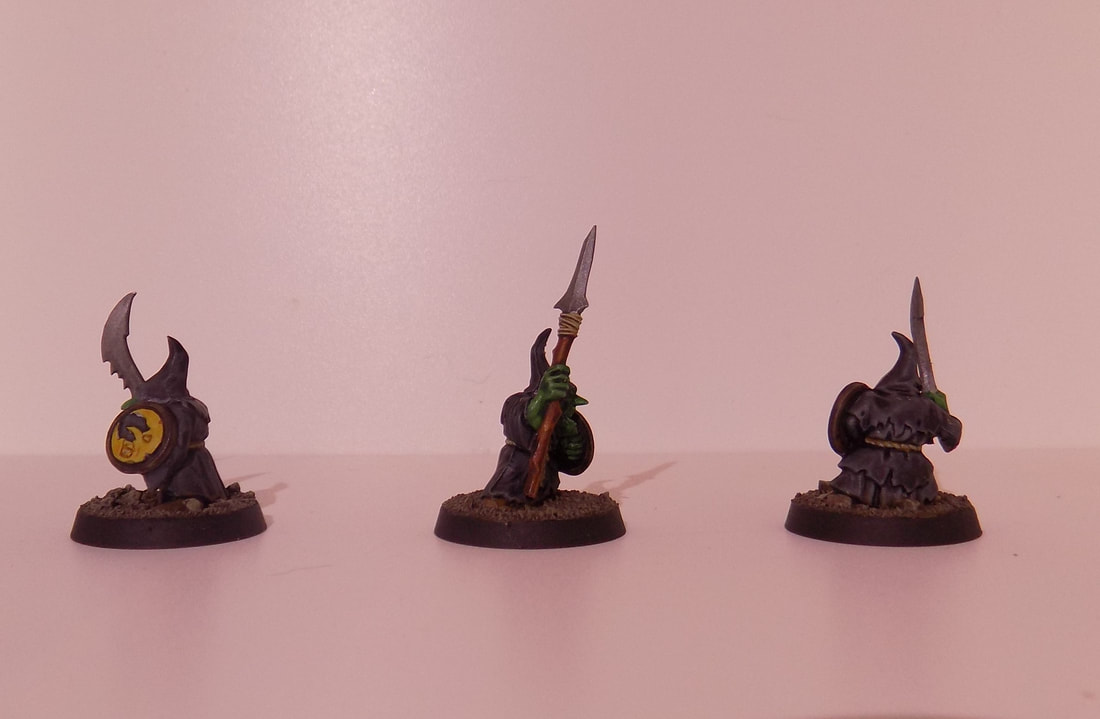
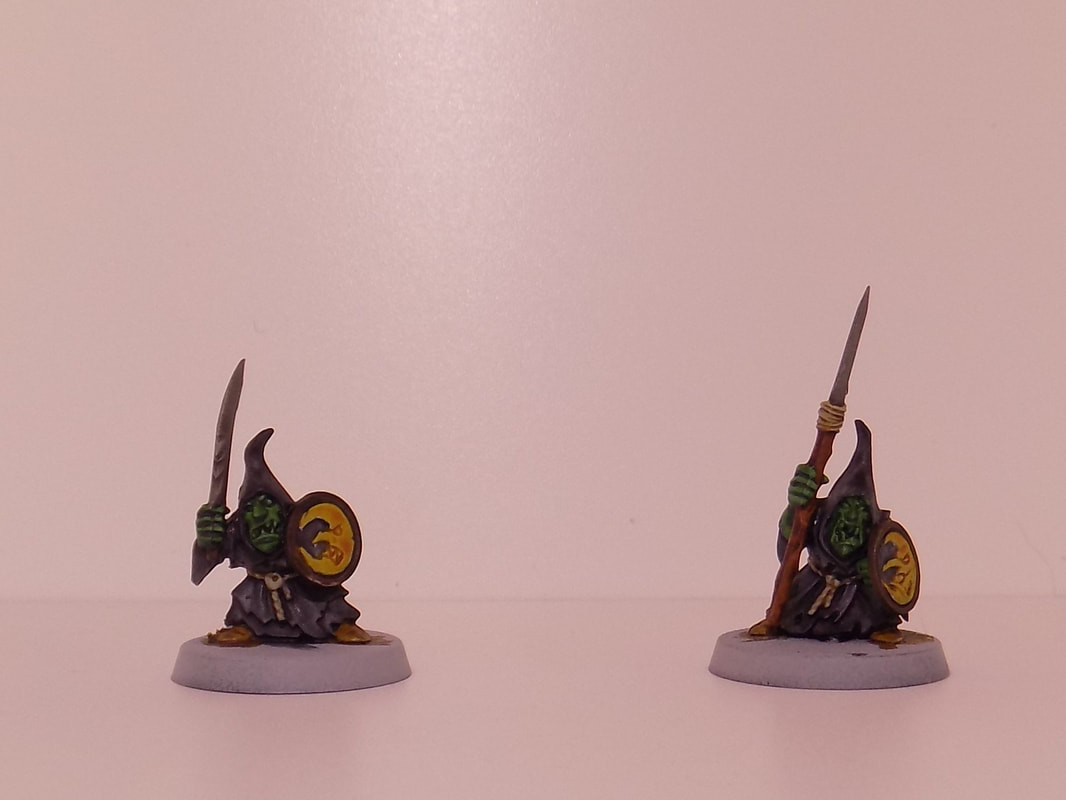
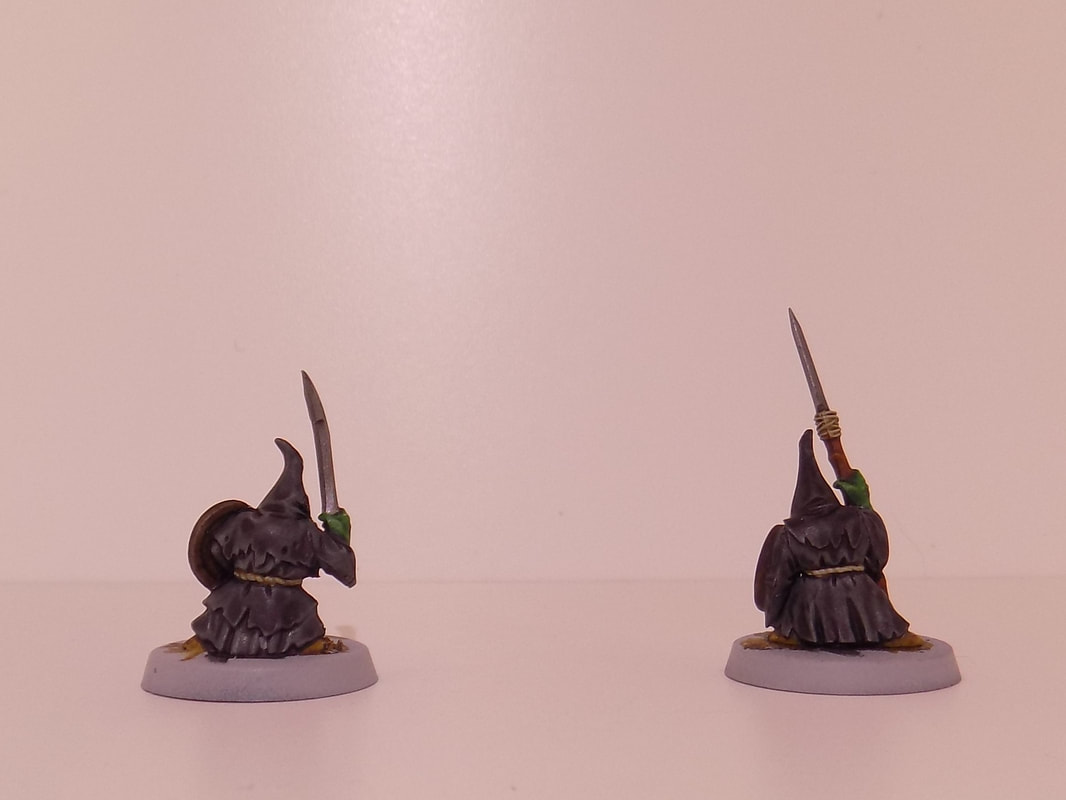
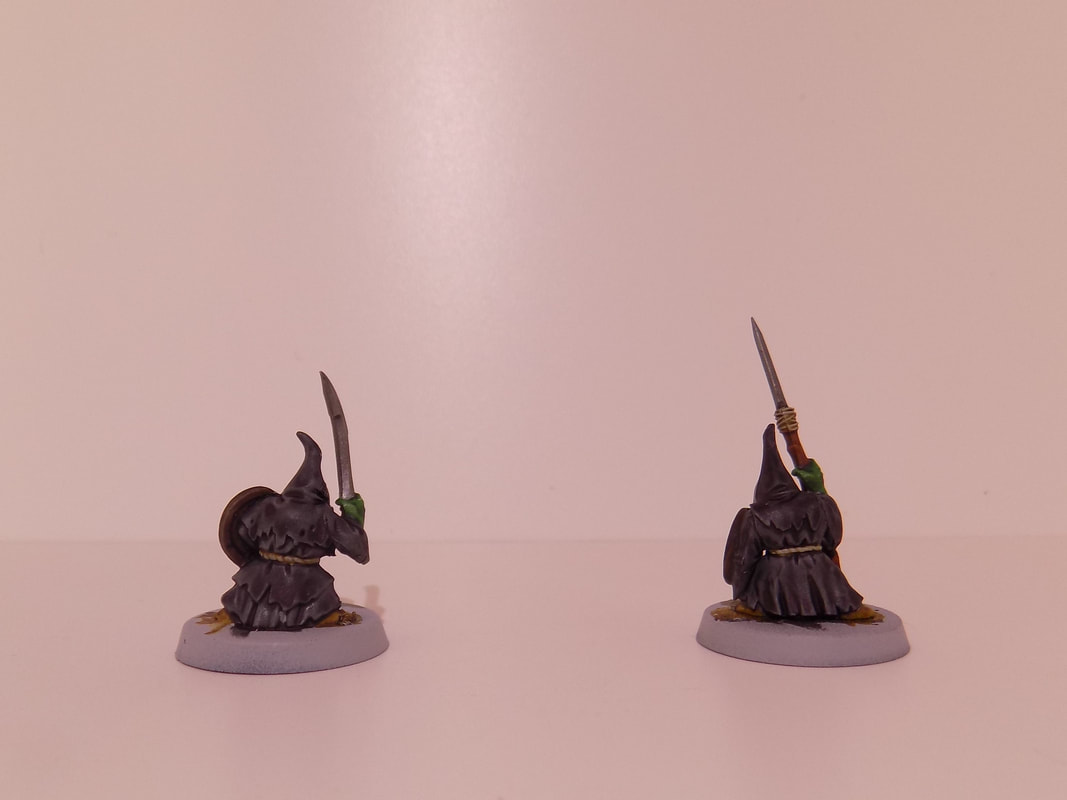
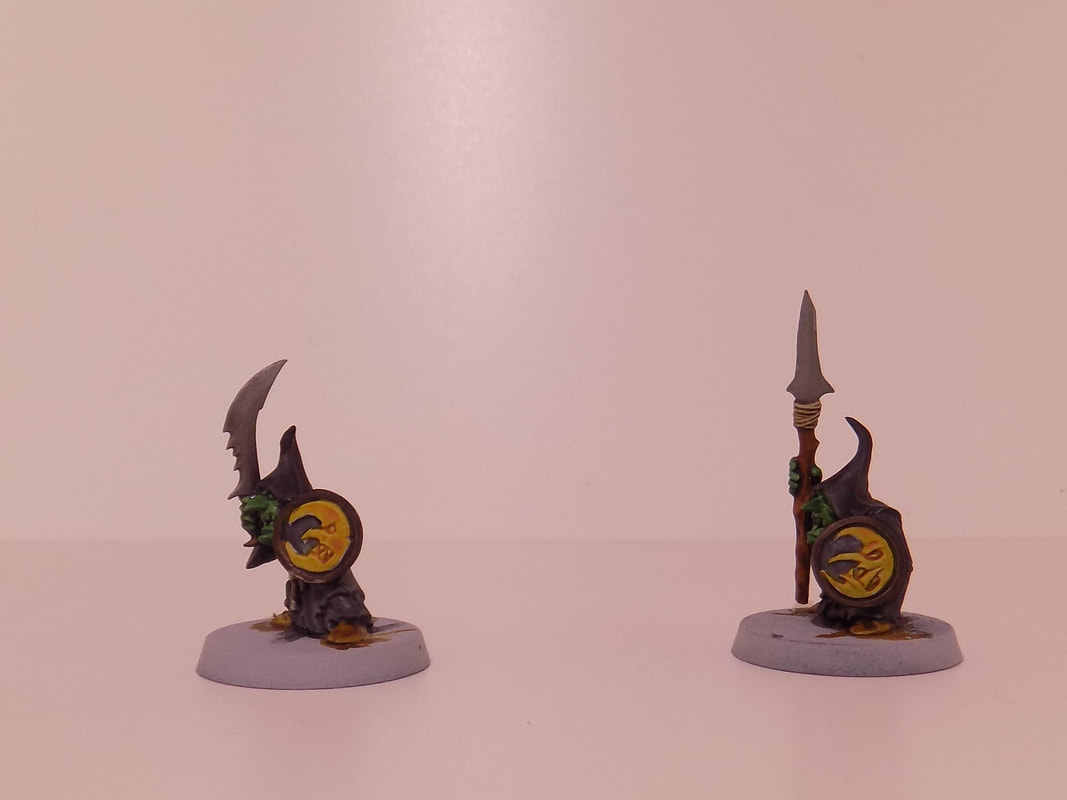
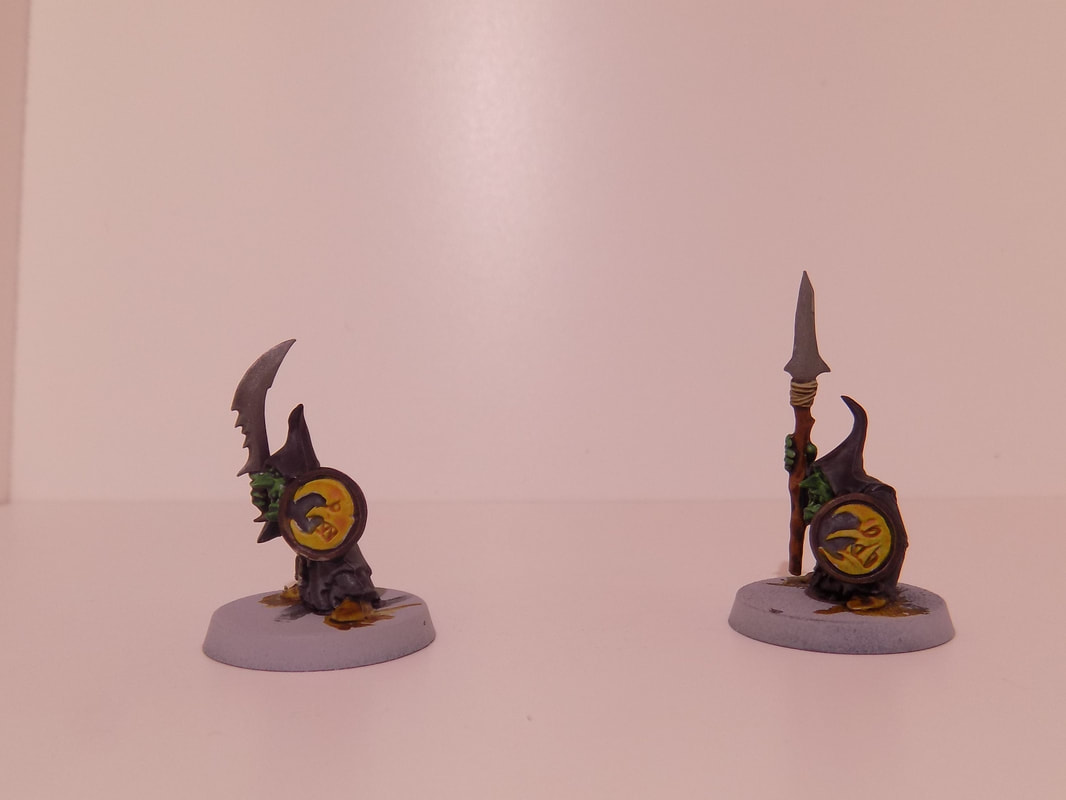
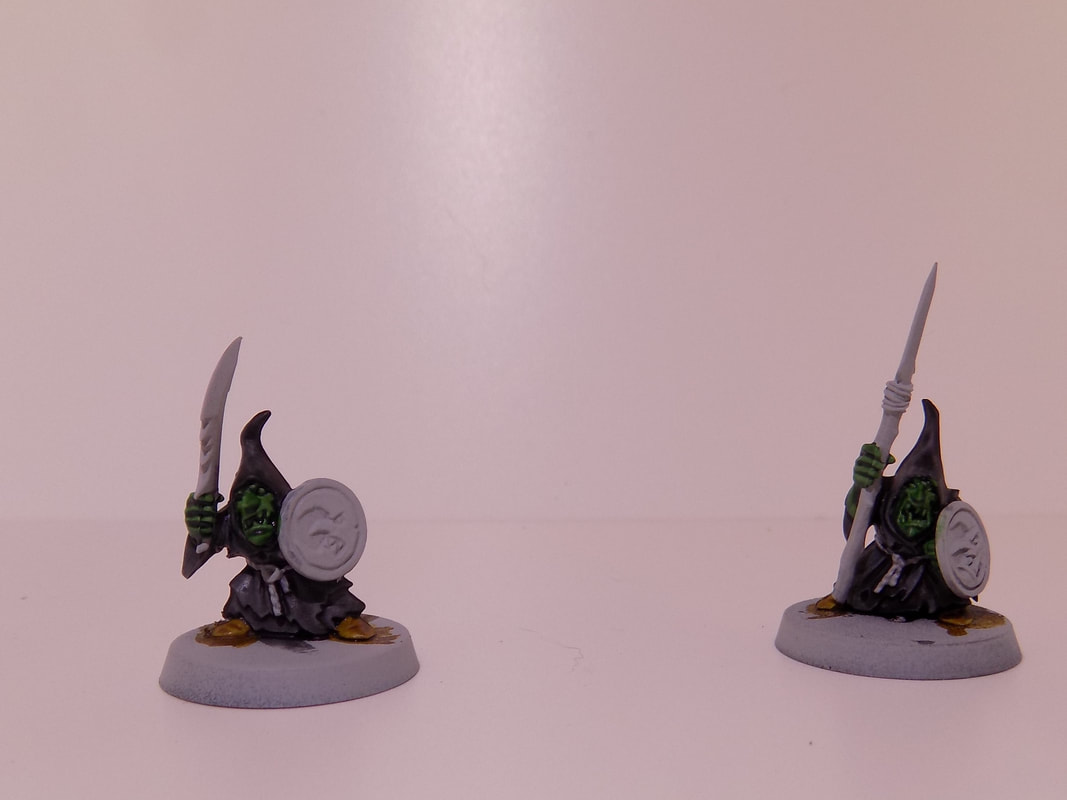
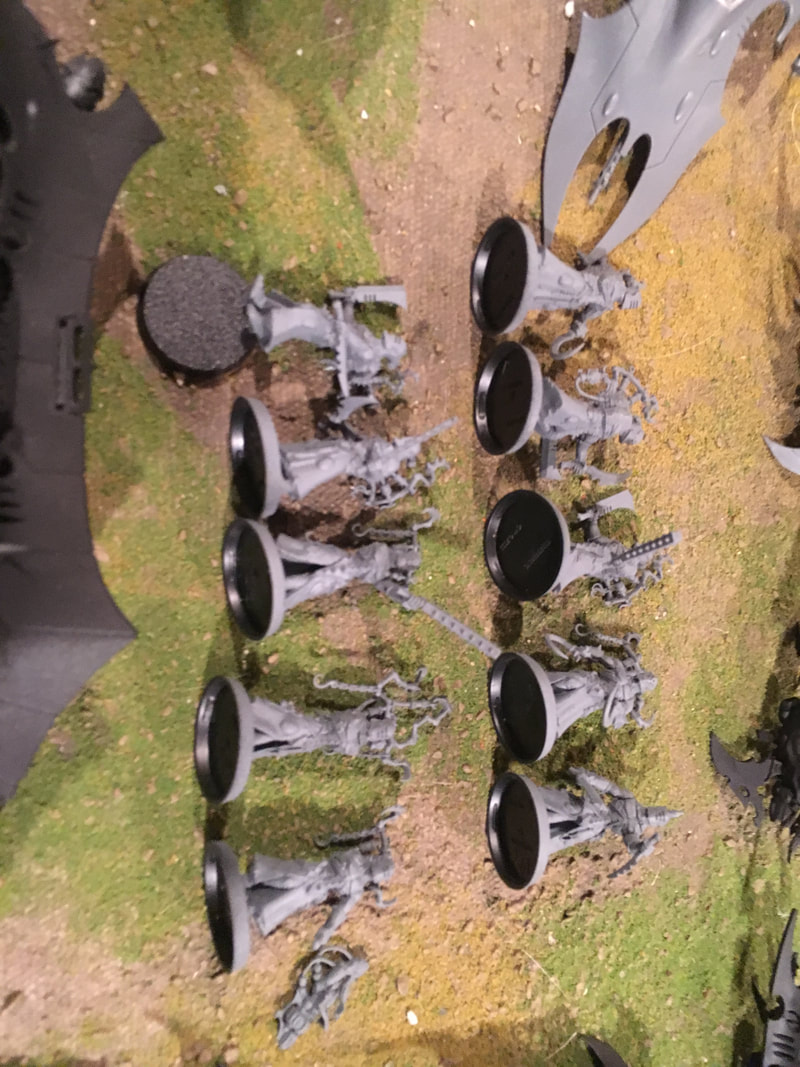
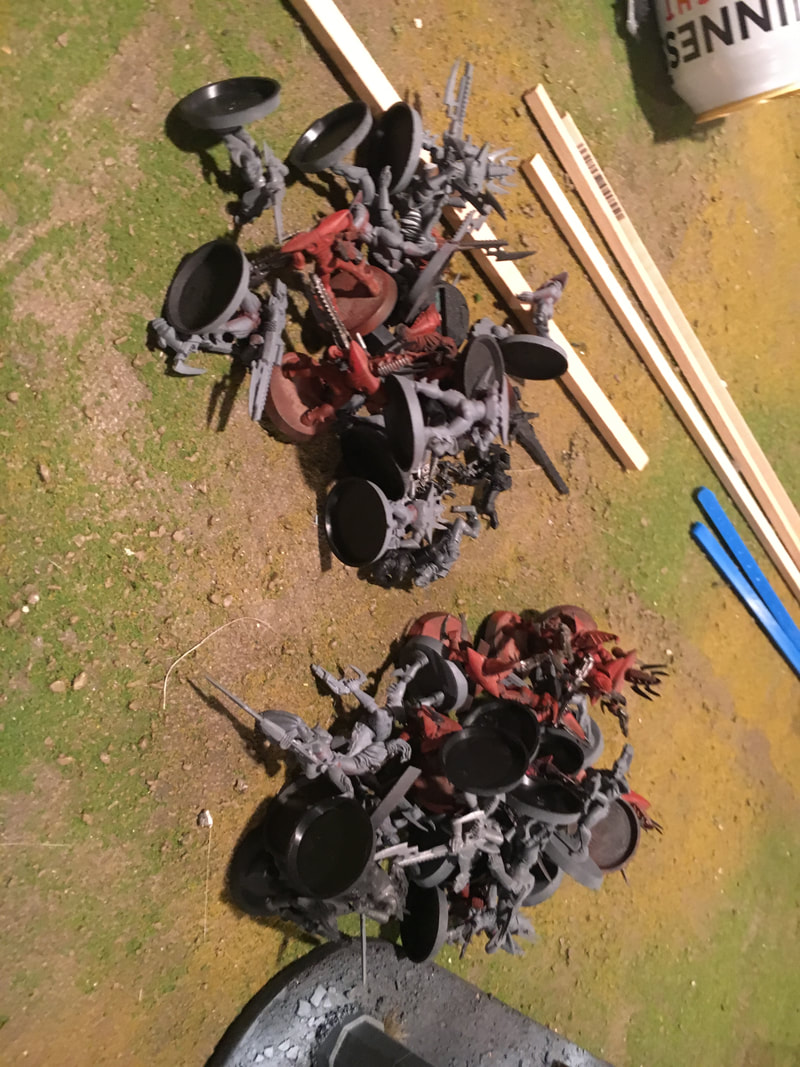
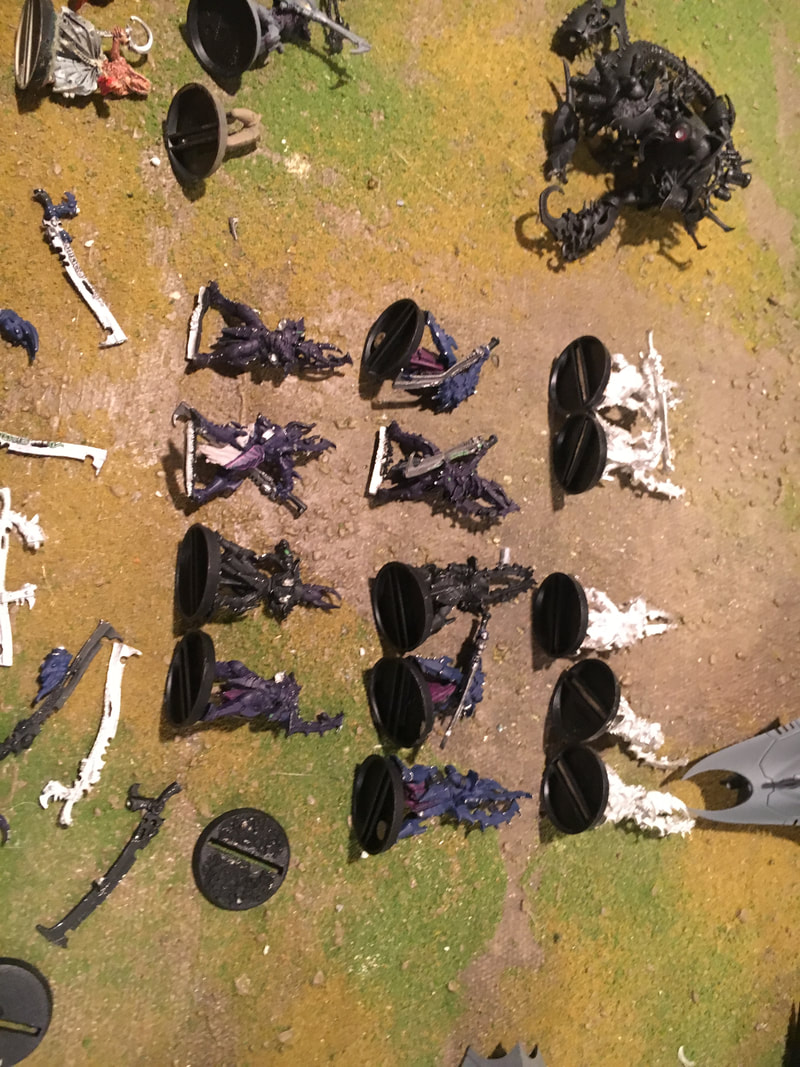
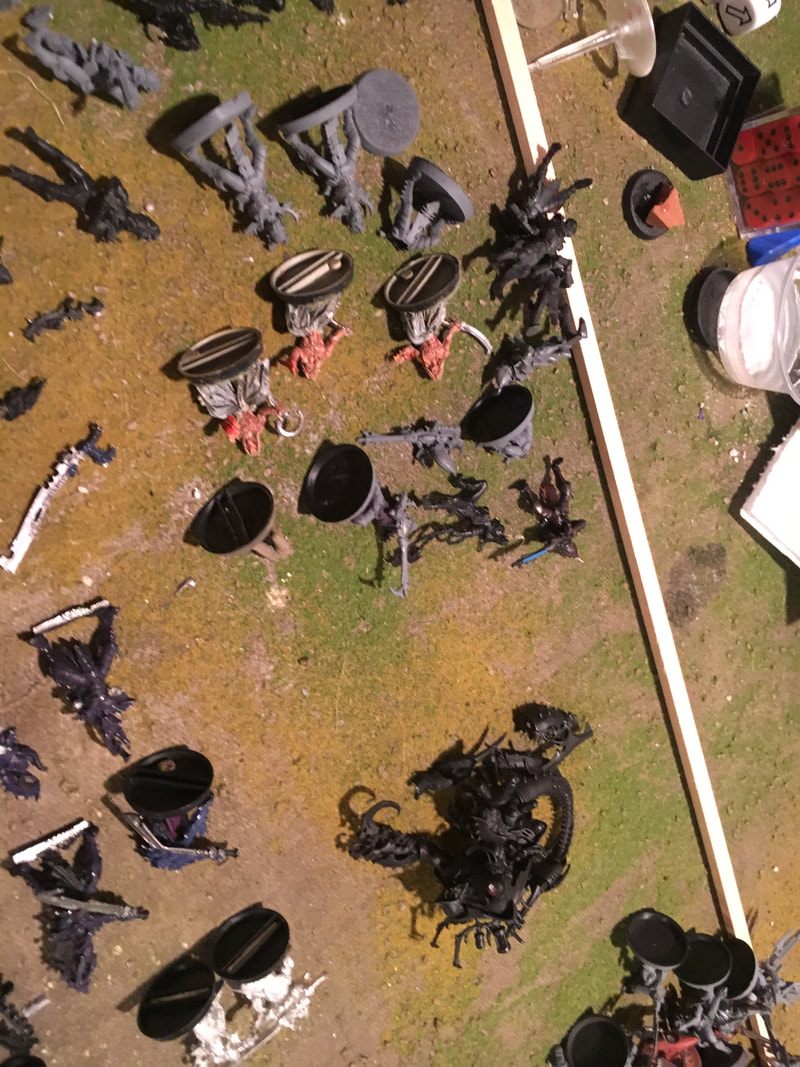
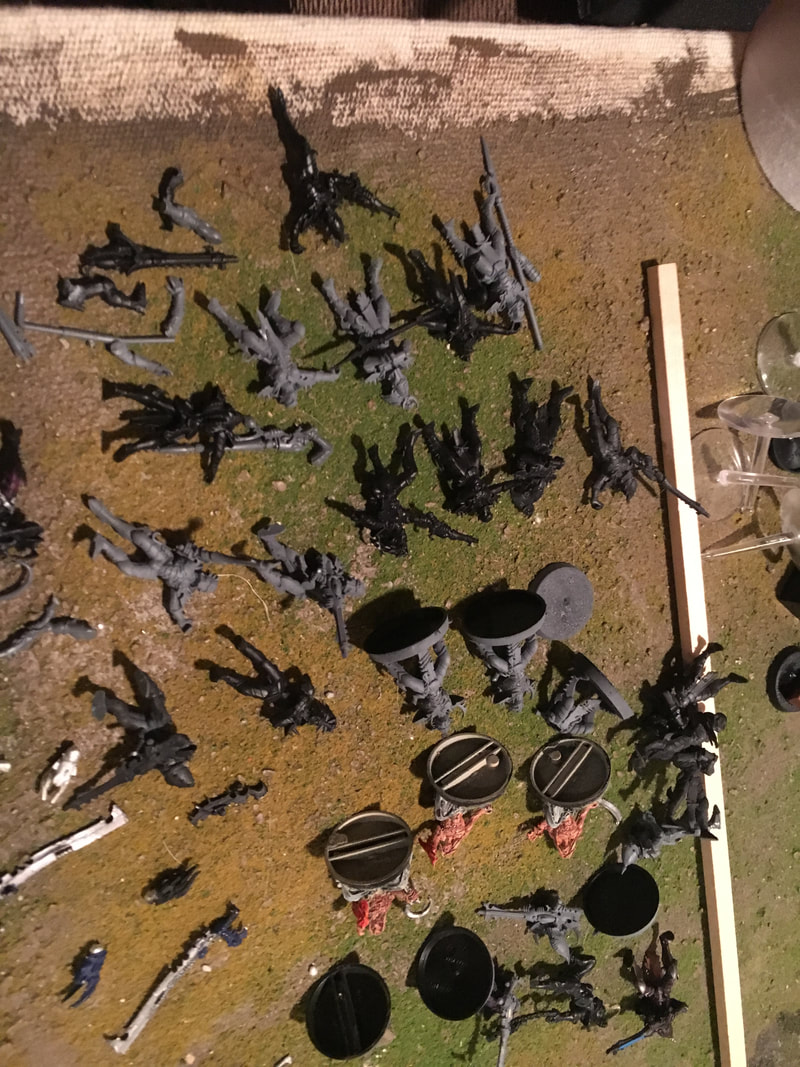
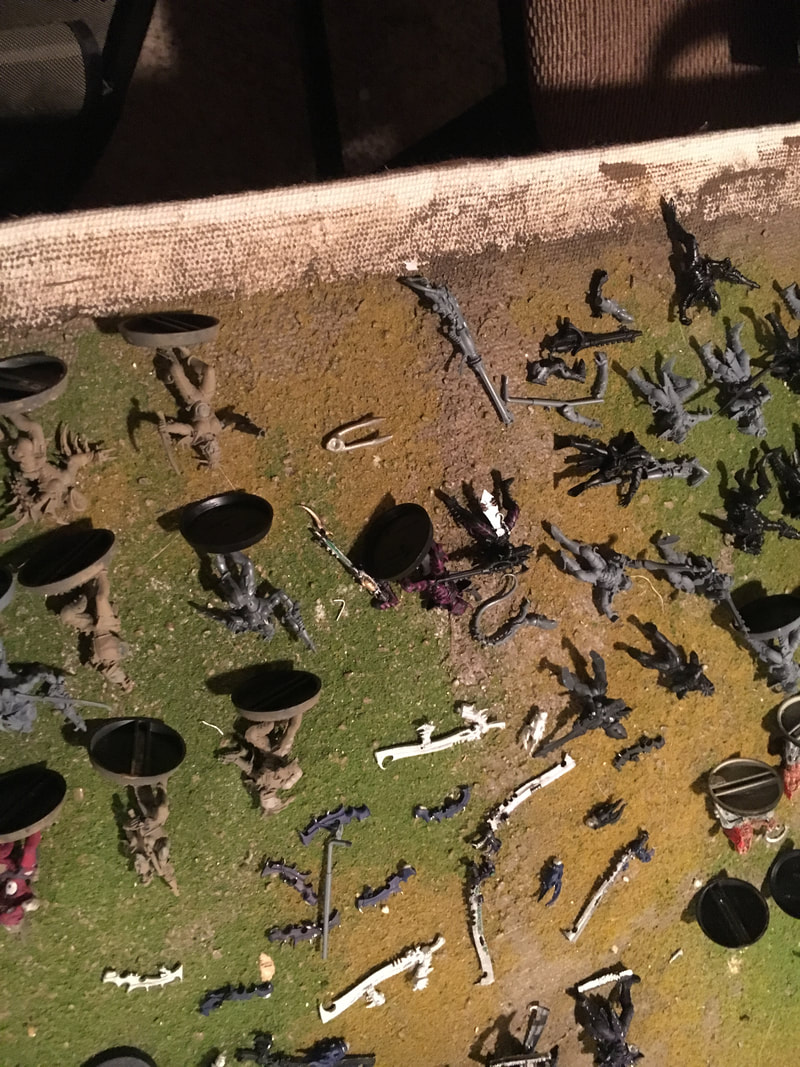
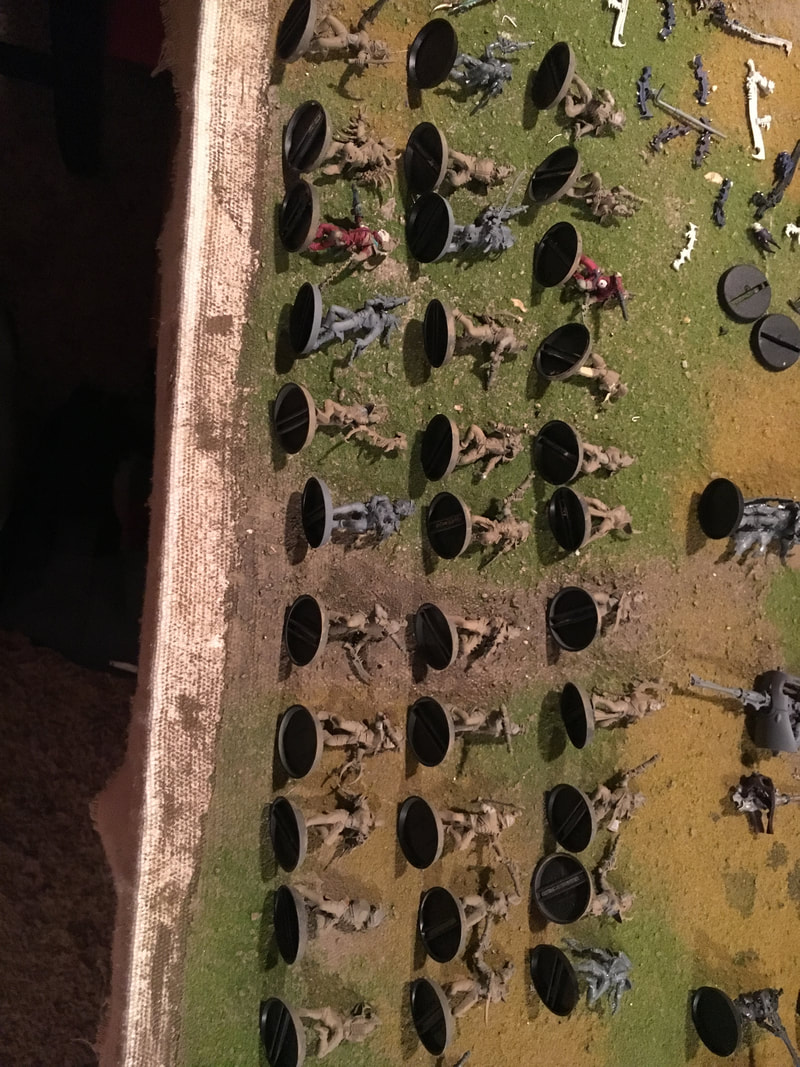
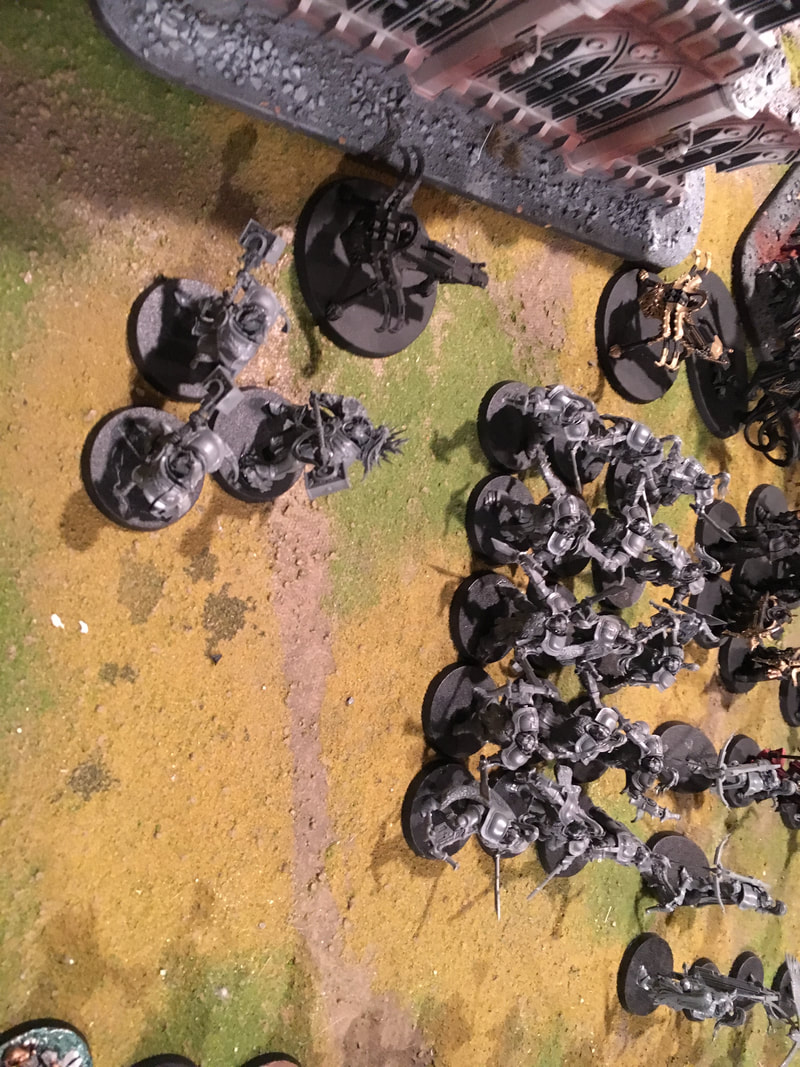
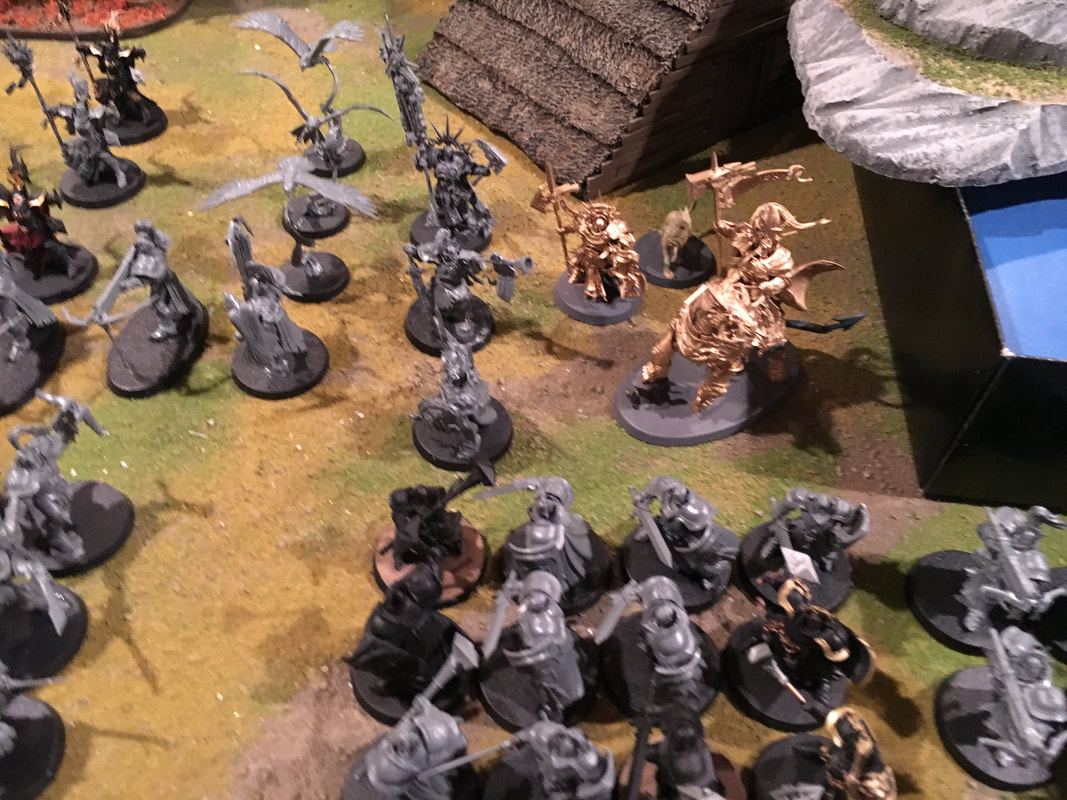
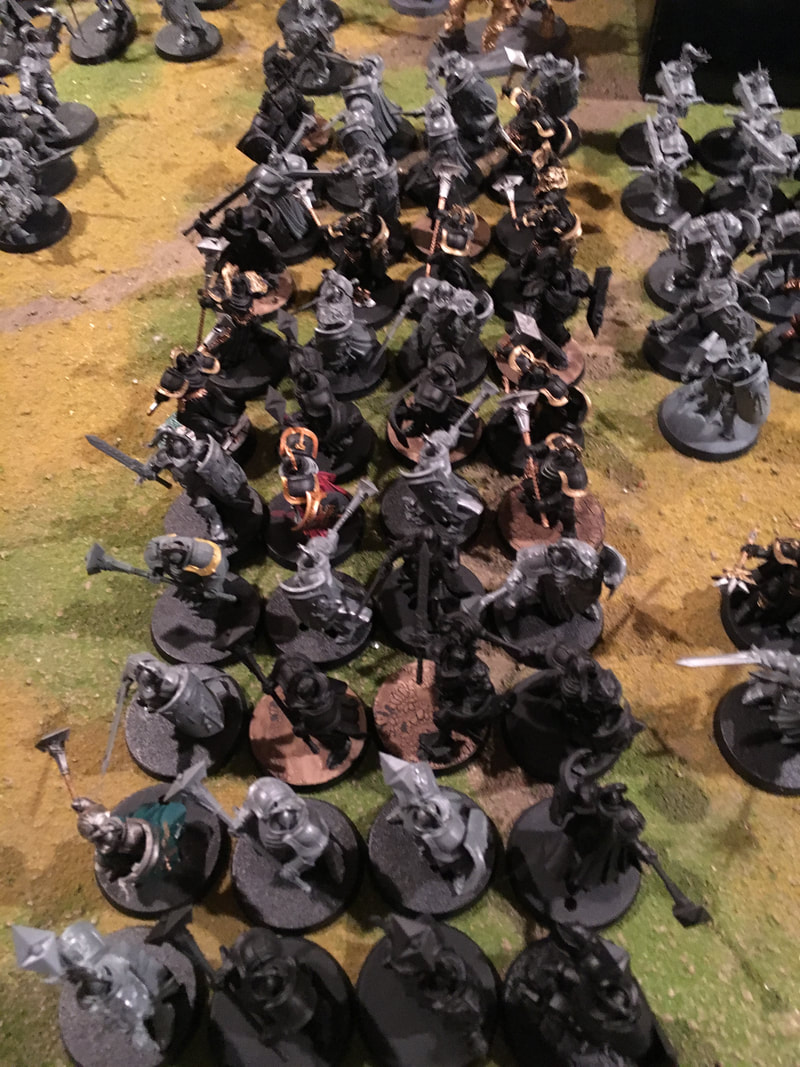
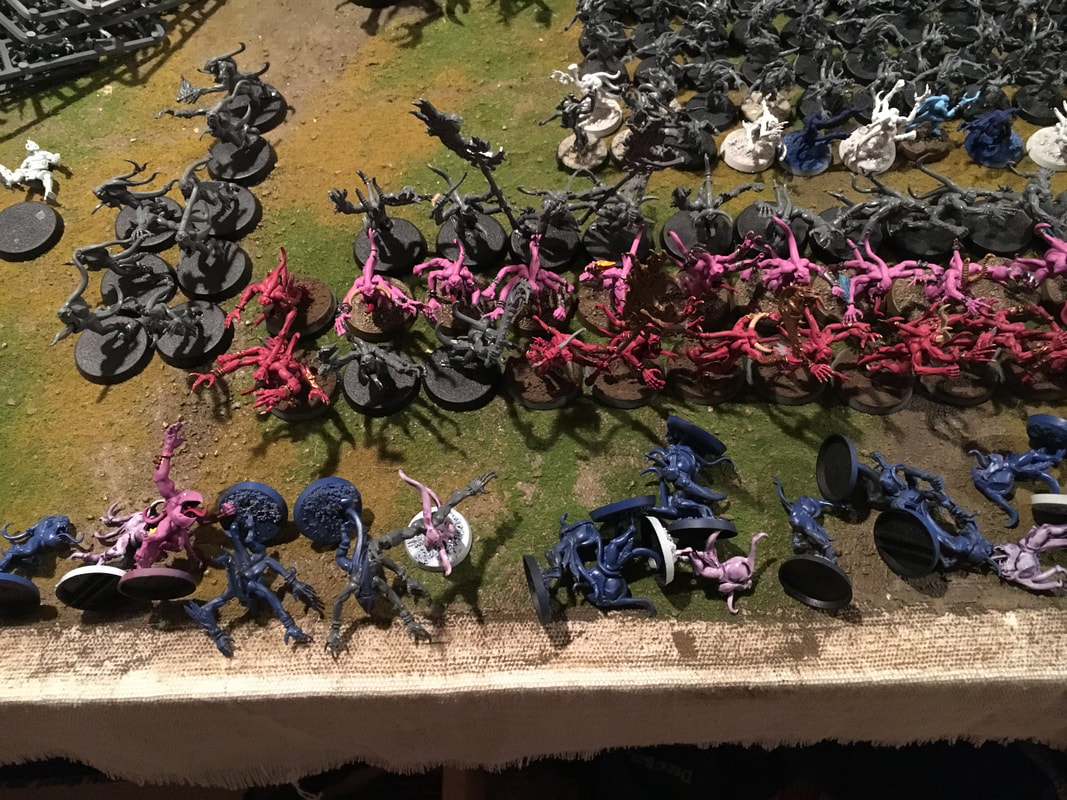
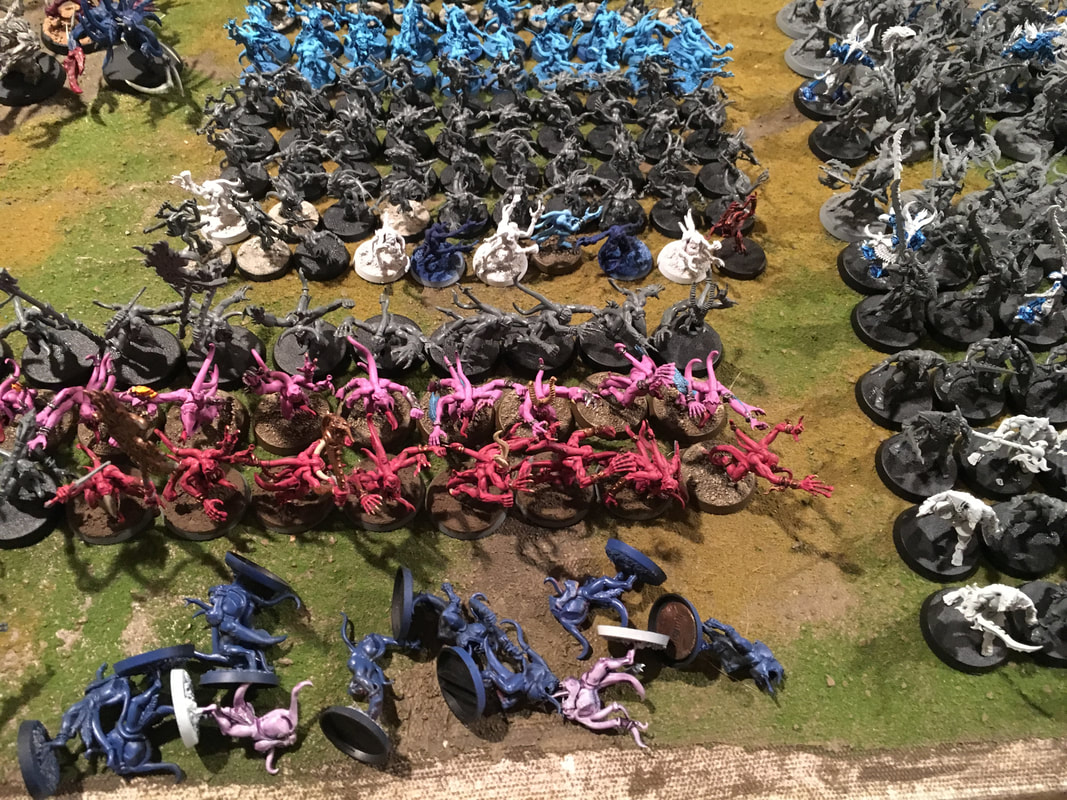
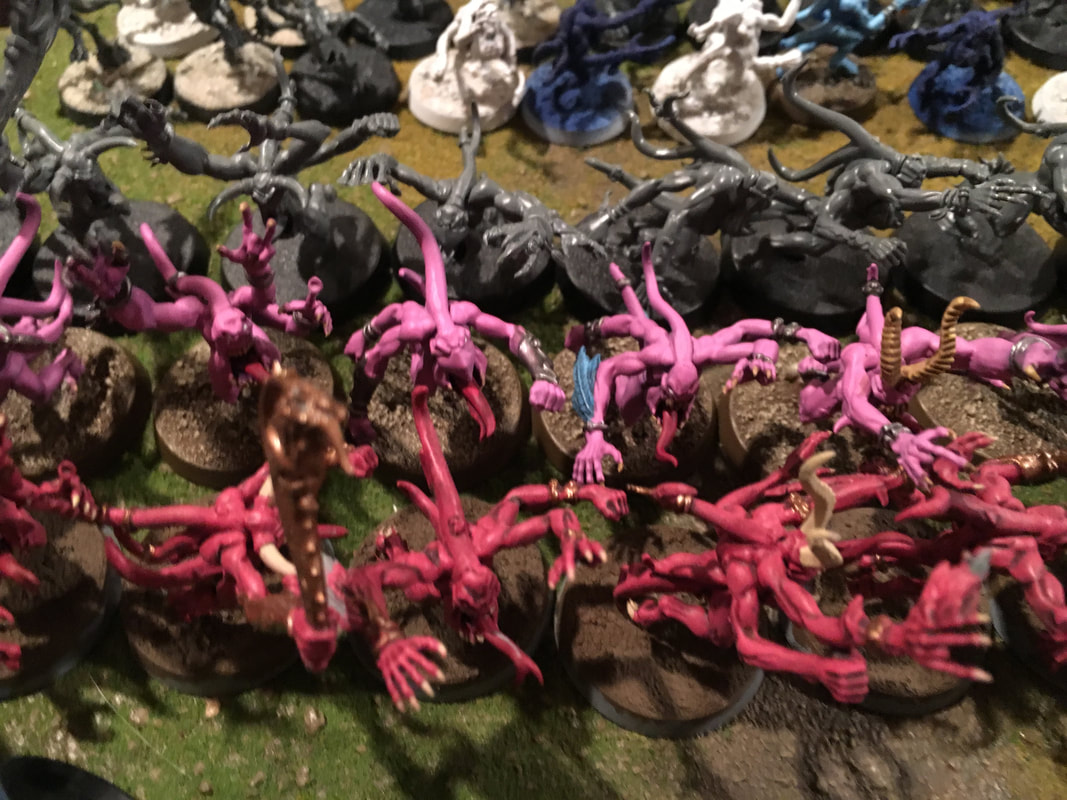
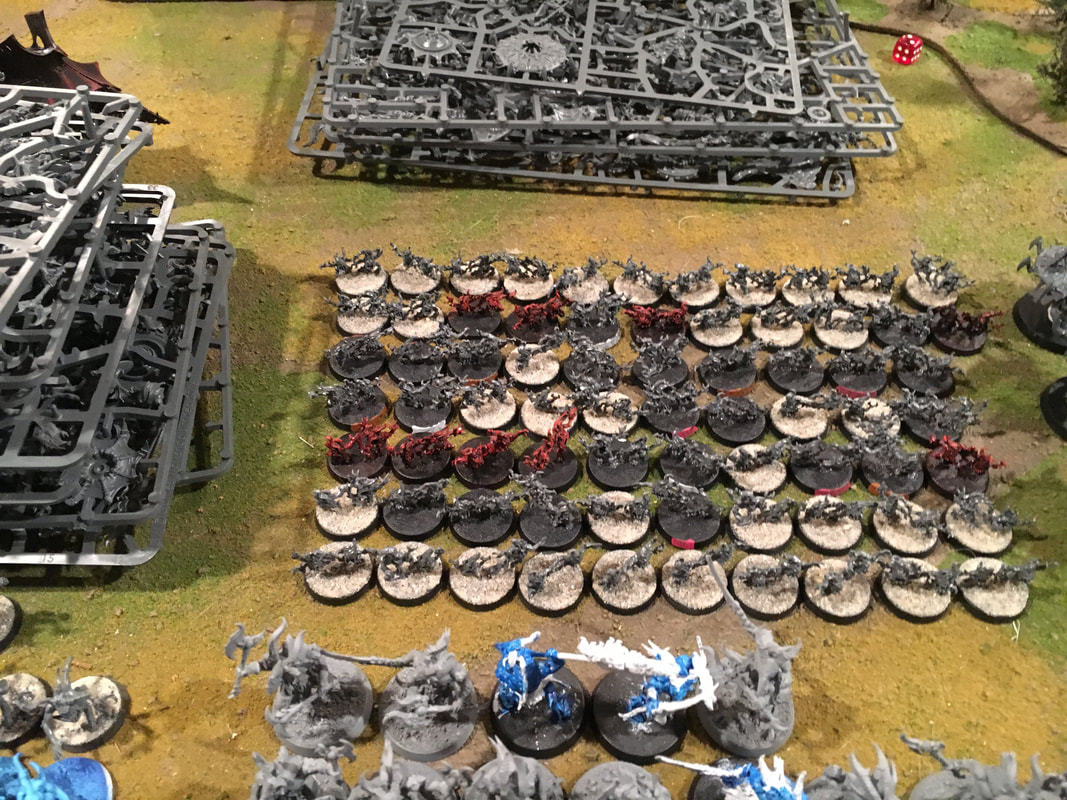
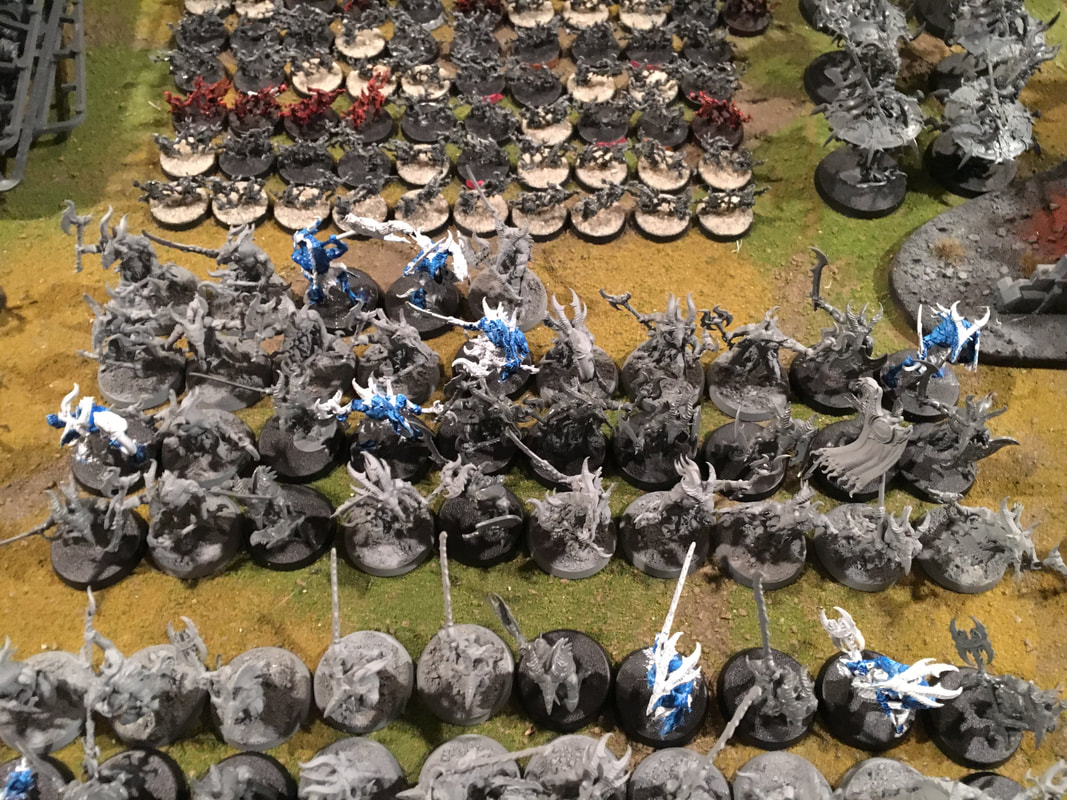
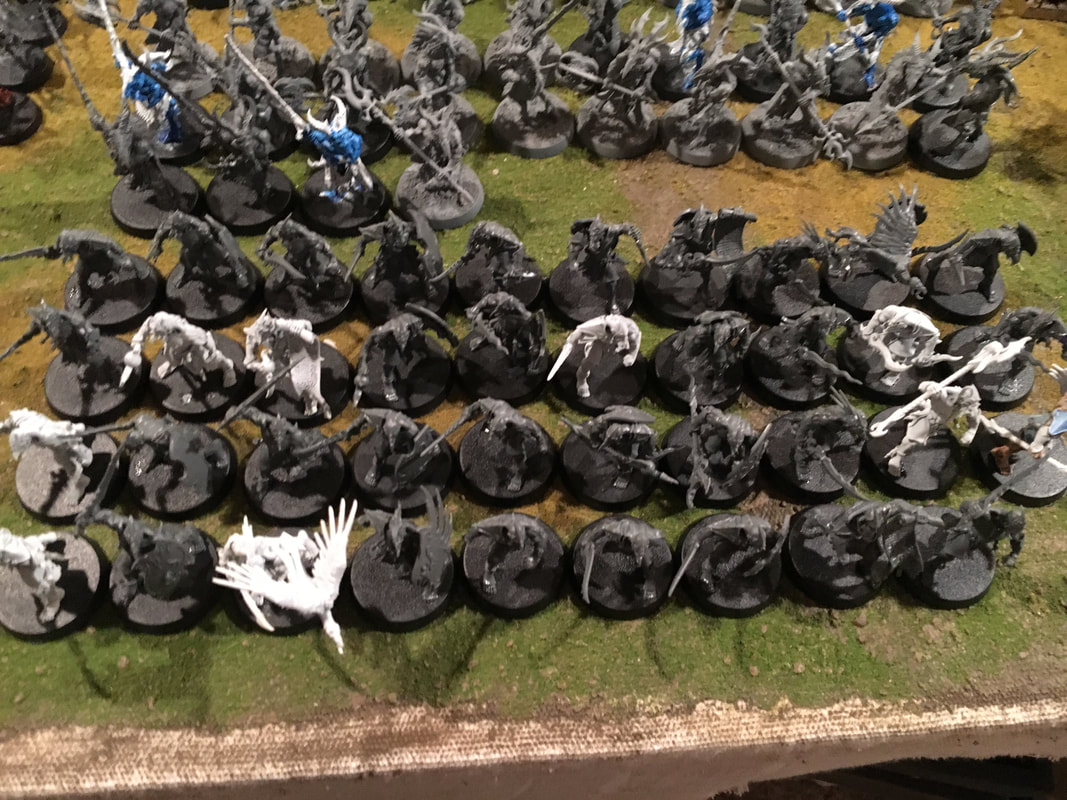
I will update sometime down the line when I get my first full squad of 60 Stabbas done! Back with the second entry in my effort to test out GW Contrast Paints and get some minis "battle ready." Today I finished all of the colors on the model itself. I'm weighing whether or not I want to pick out any additional detail, mainly stuff on the face like teeth. Overall, once again I'd say that Contrast Paints are proving to be exactly what they're billed as. Something that in one coat can give you passable paint job. I stress passable because other than being quicker I wouldn't say it's any better than how I would otherwise paint things. Step 3: For the next main stage I really just have one set of pics. I picked out the last few pieces as follows: -Spear haft - Gore Grunta Fur -Shields - Wyldwood -Moon Icon - Iyanden Yellow -Rope/Belts - Skeleton Horde Step 4: For the final detail, because there's no Contrast for this, I did the spear head and sword in Vallejo Oily Steel with a Nuln Oil wash. Next will be basing. Not too sure what I'll do. Probably just a basic brownish earth with a little grass here and there. I'd like to do some dark, dank, cave-like bases, but on such tiny models that are almost all black, I think I'll stick to earth tones.
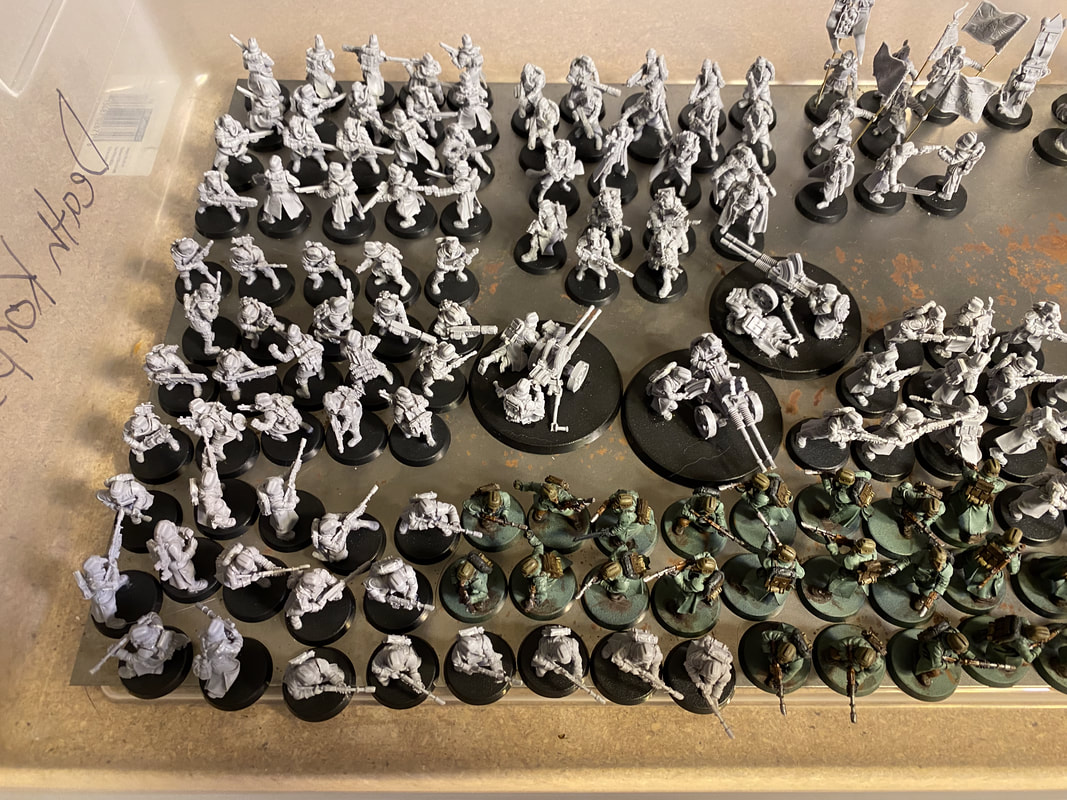
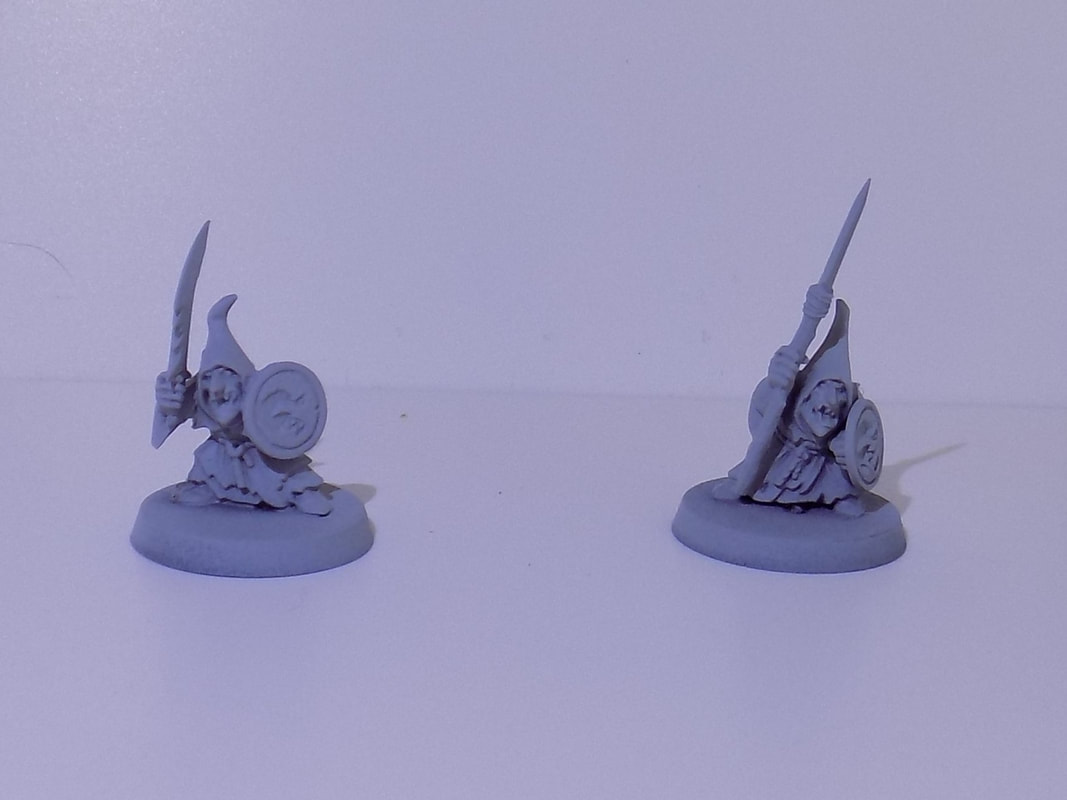
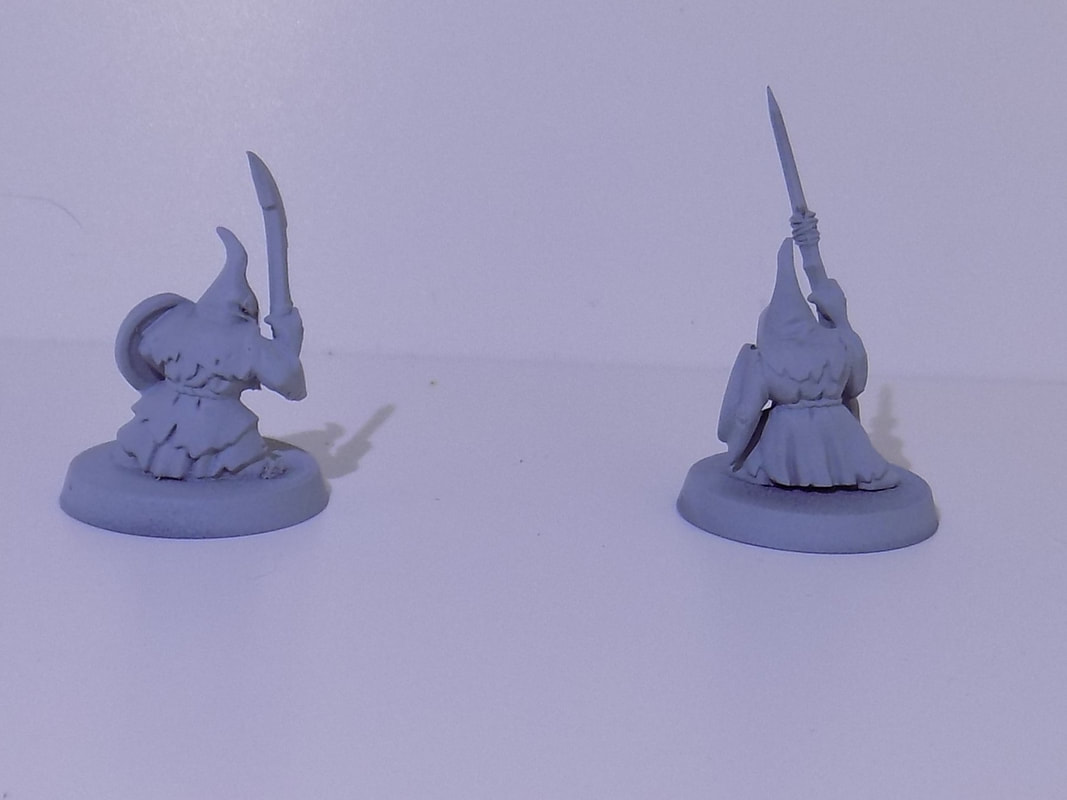
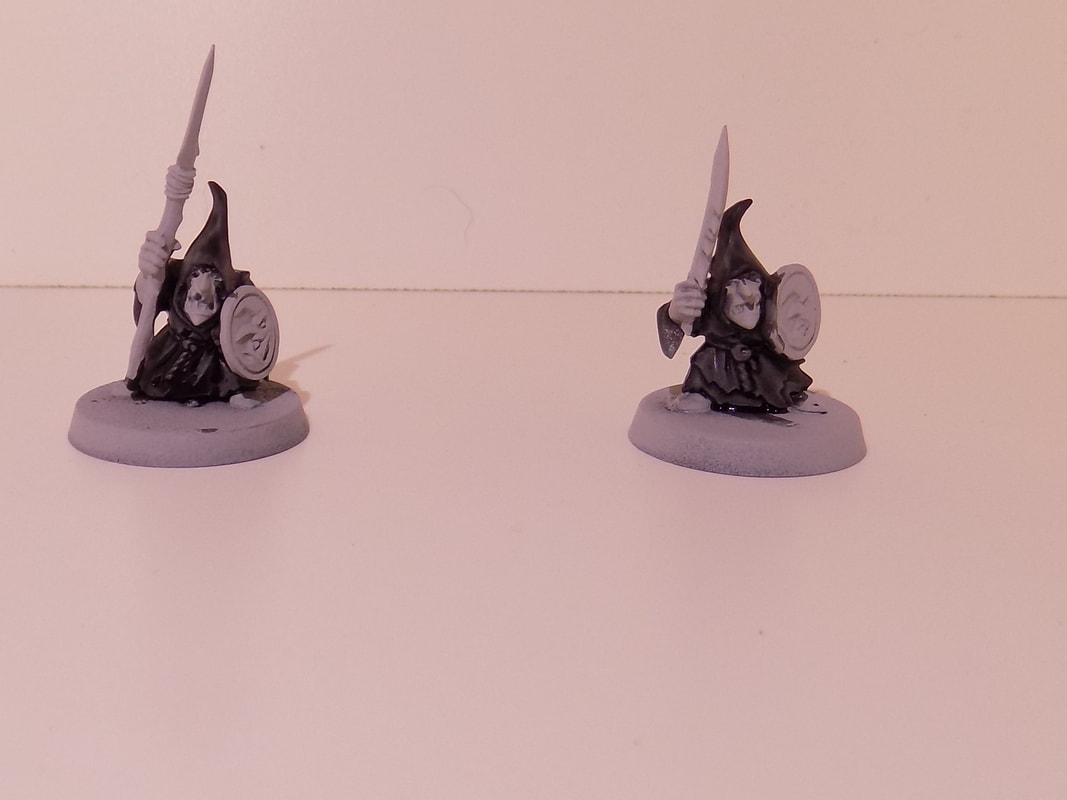
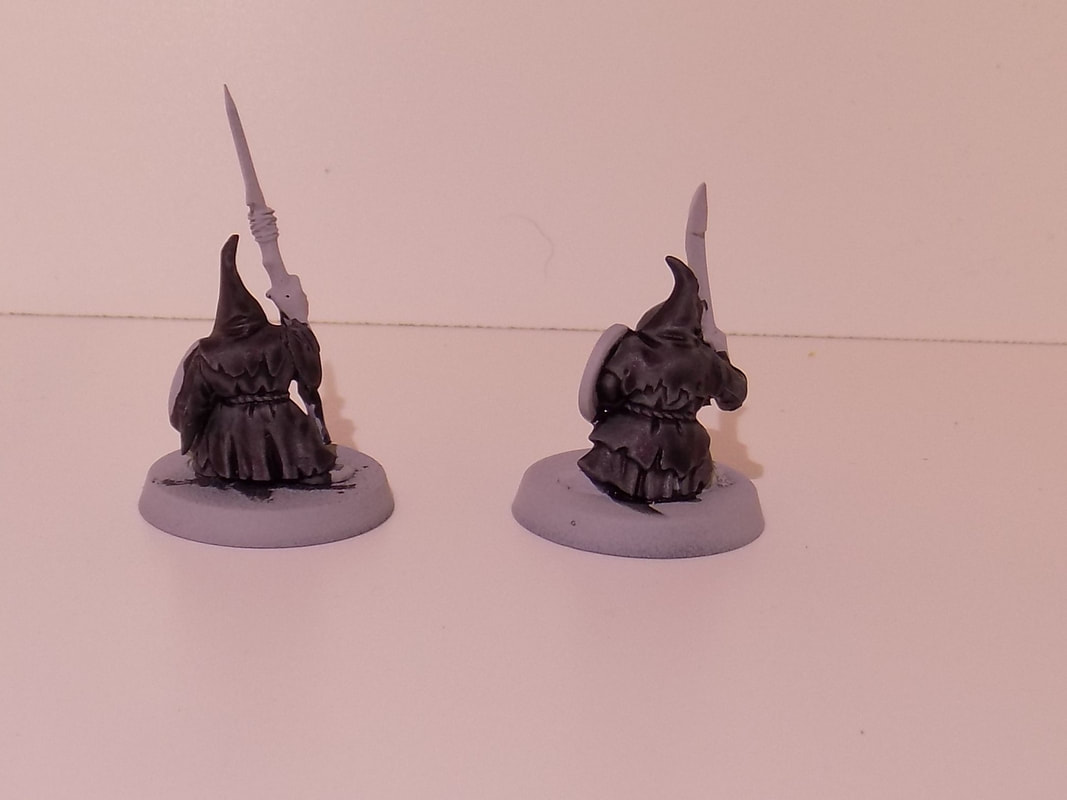
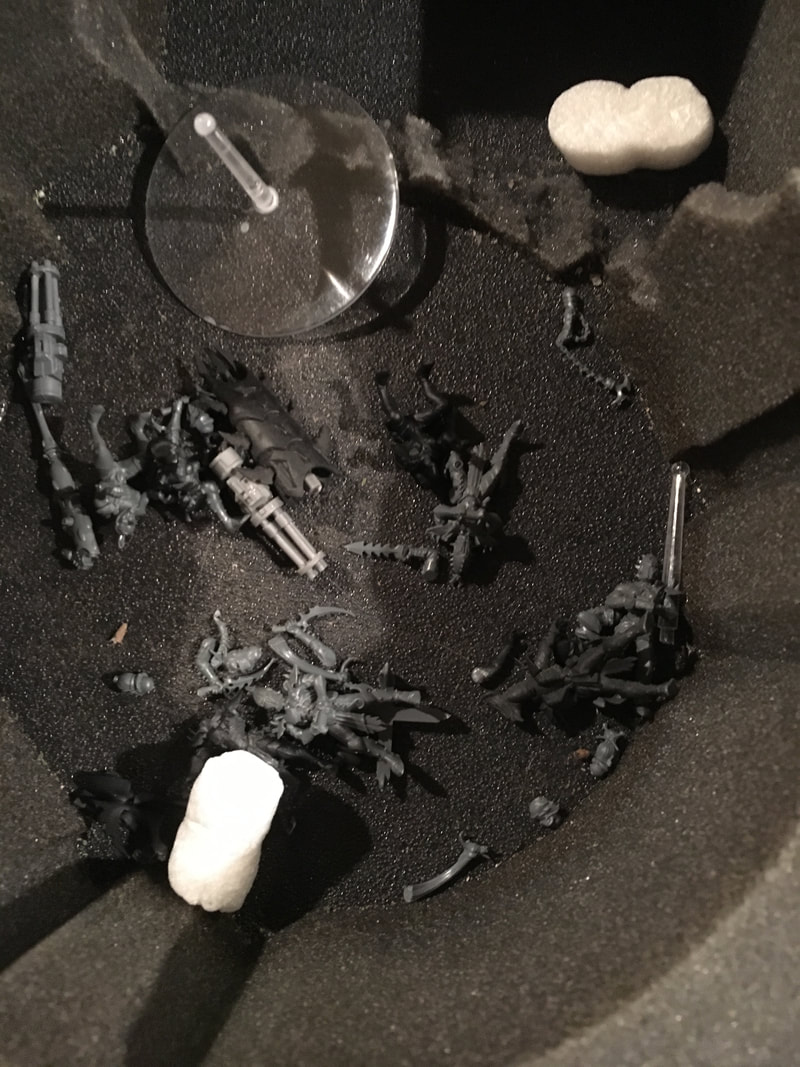
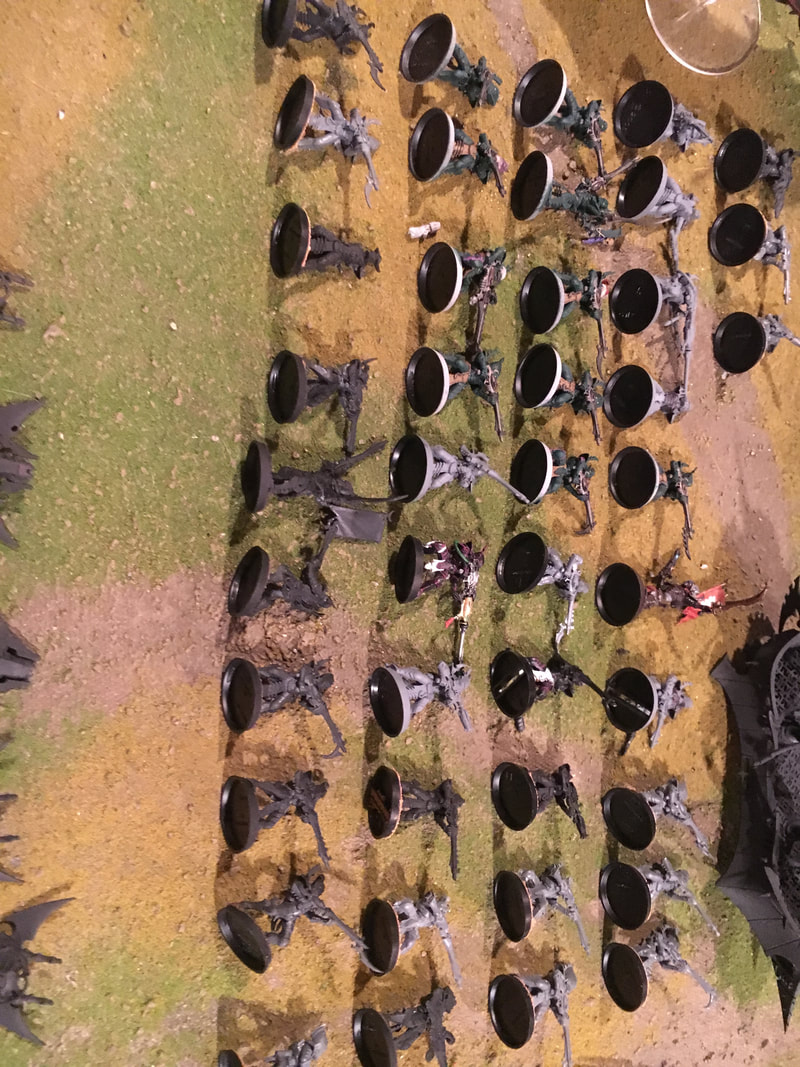
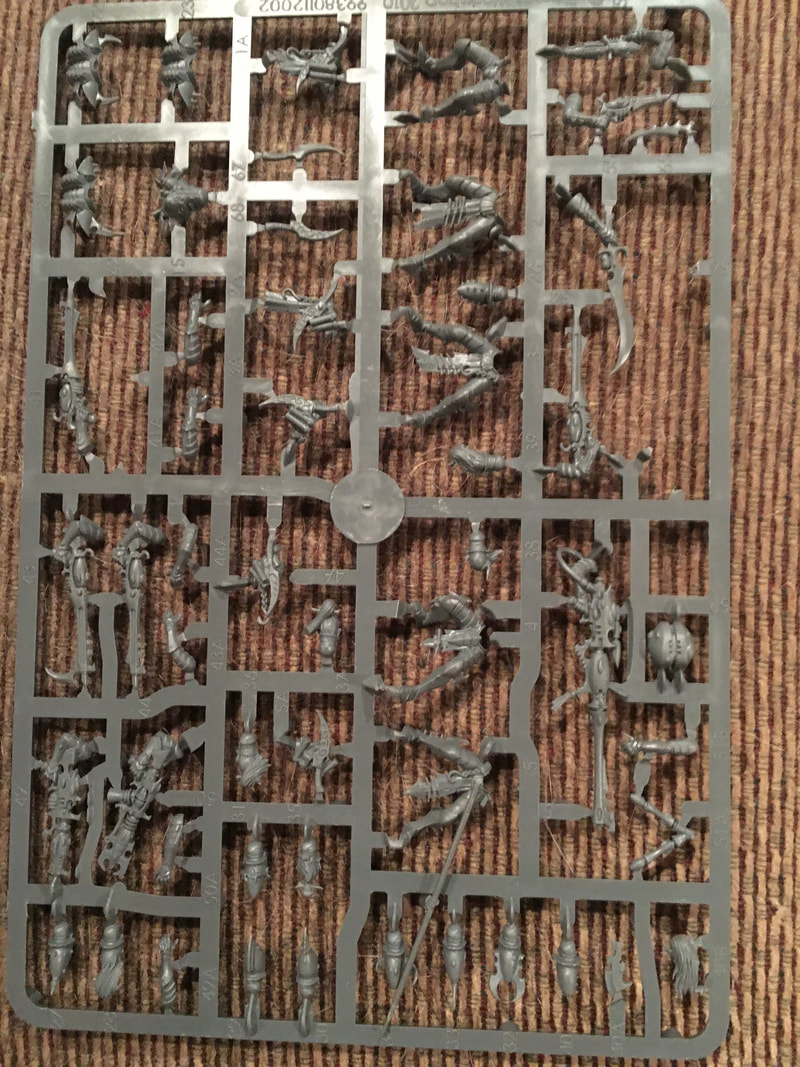
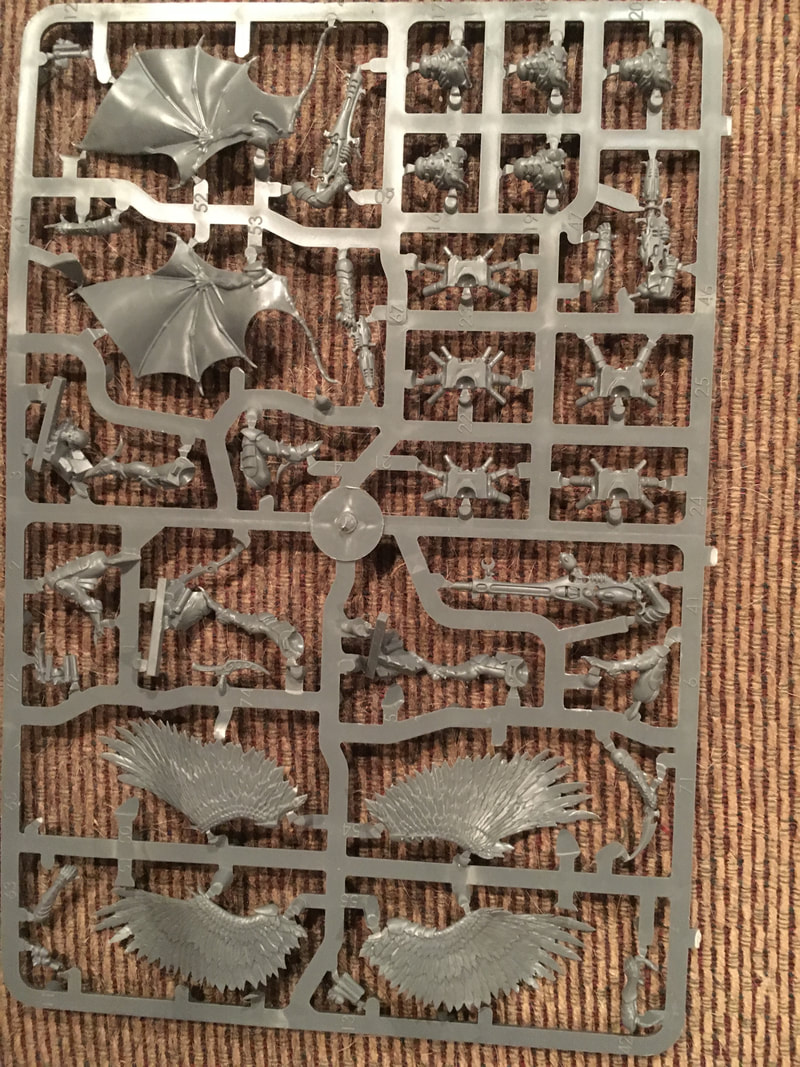
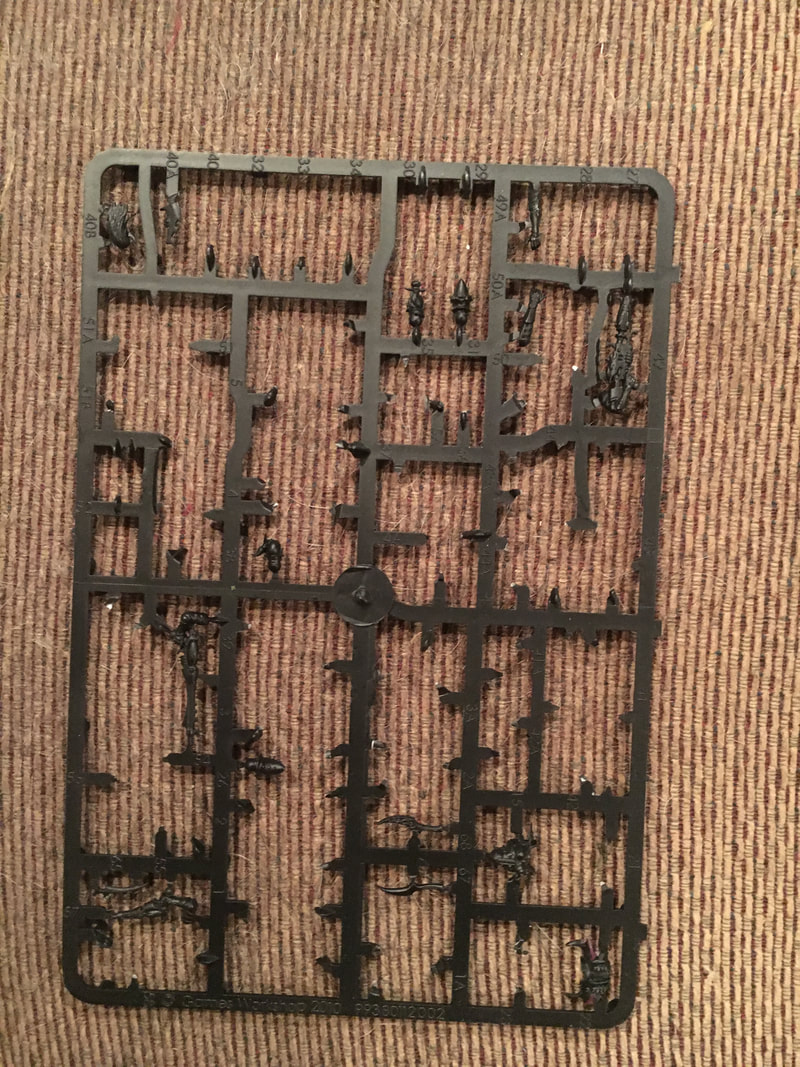
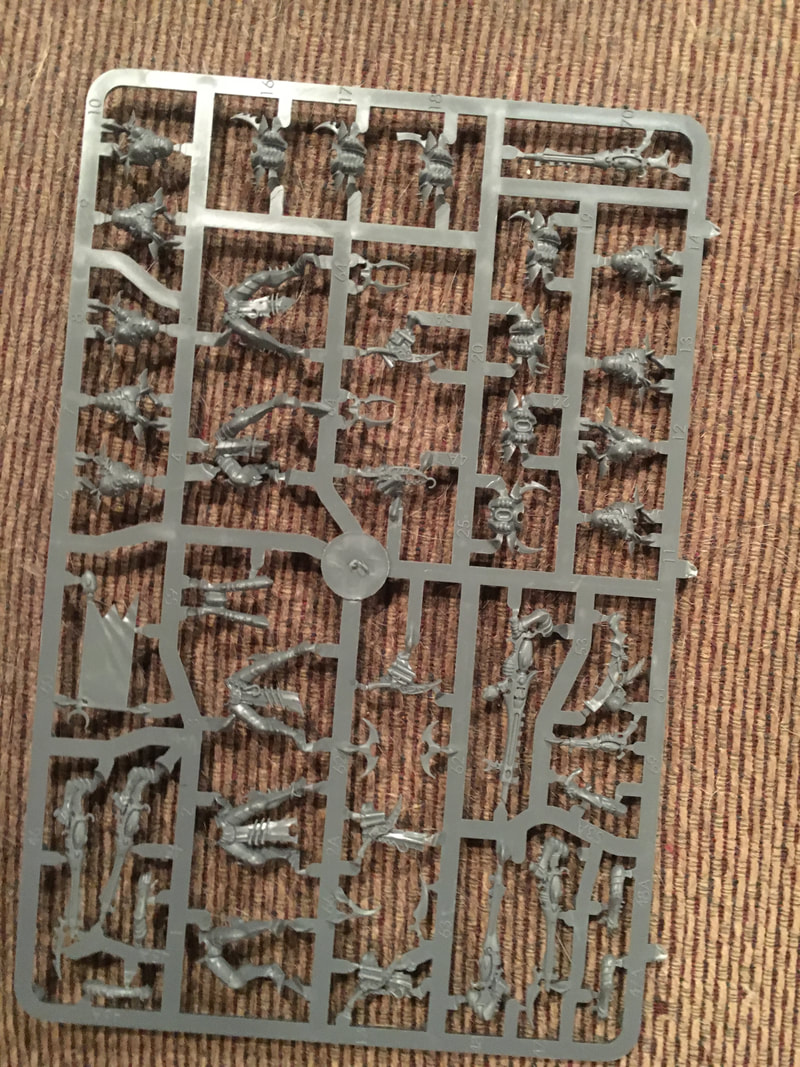
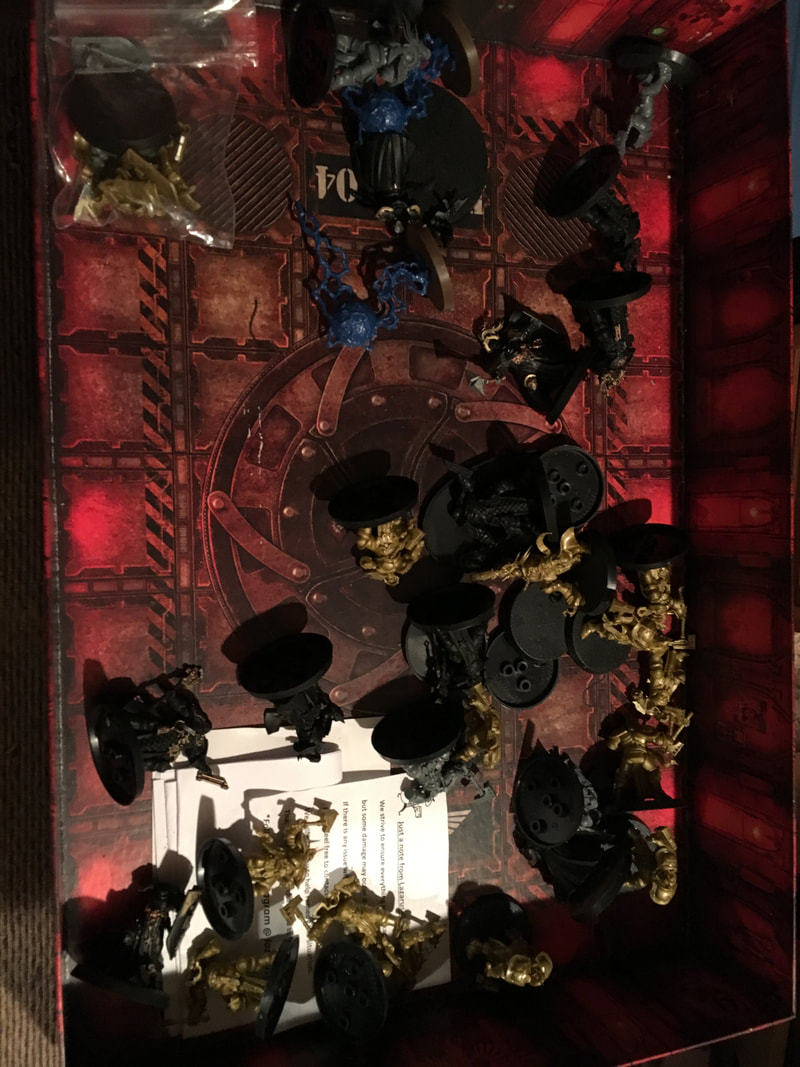
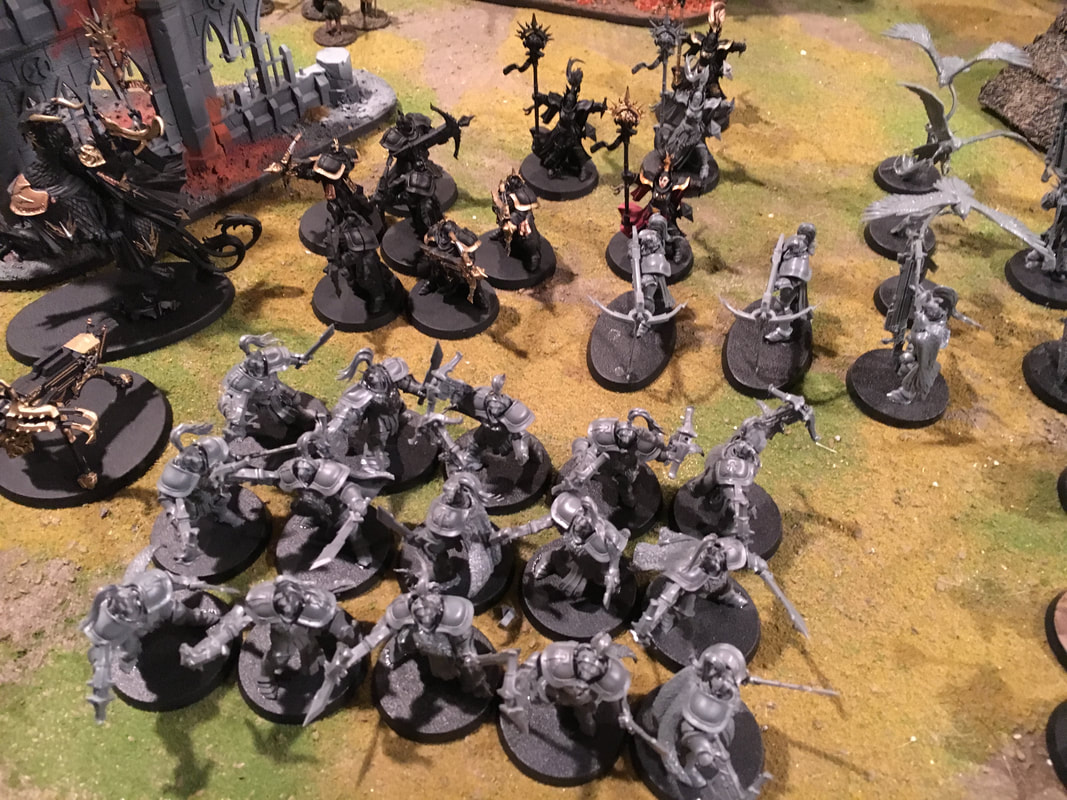
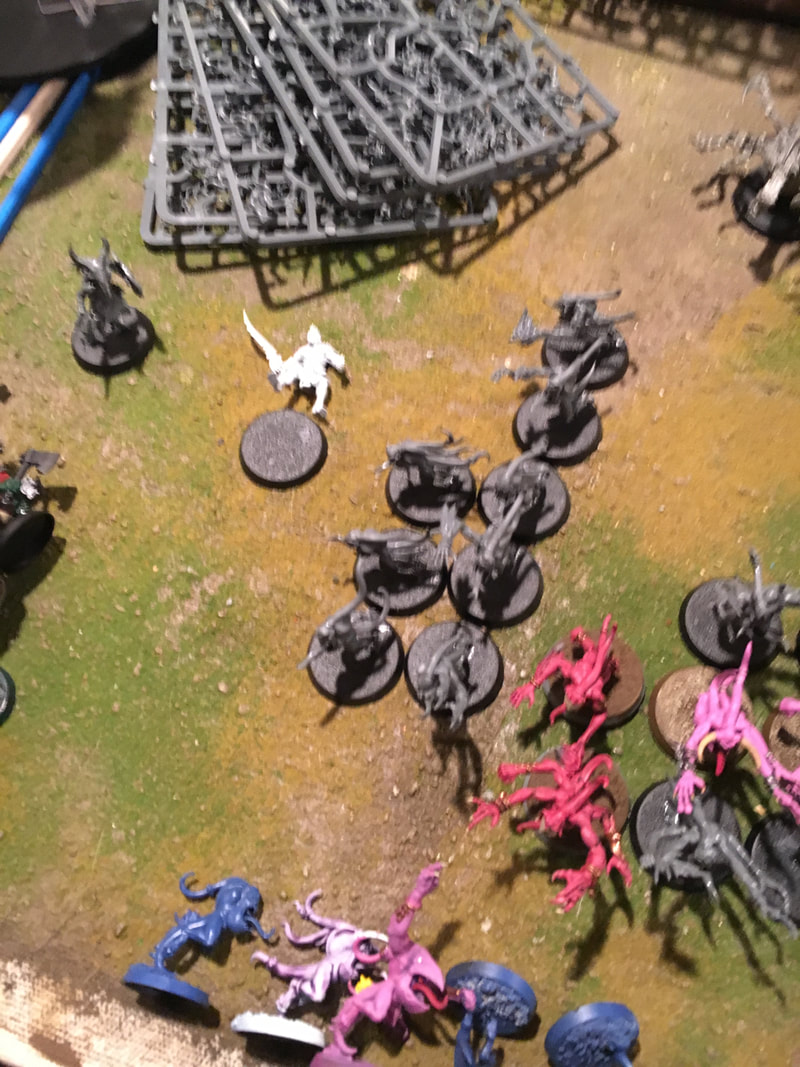
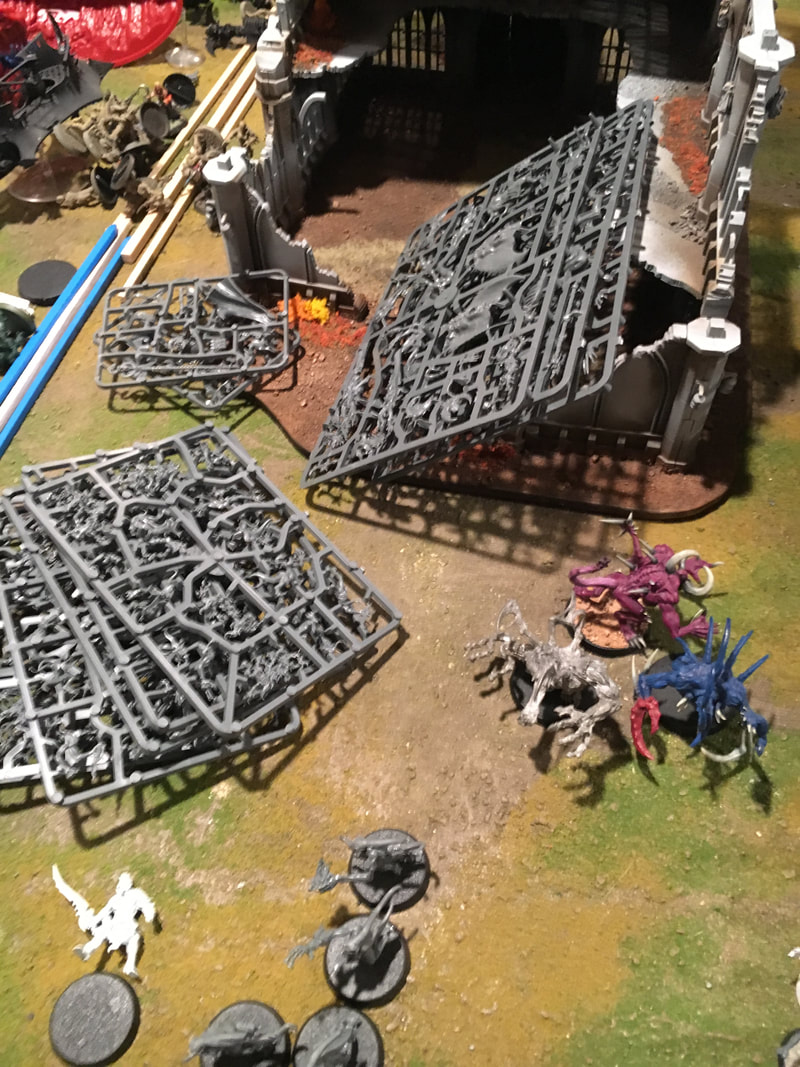
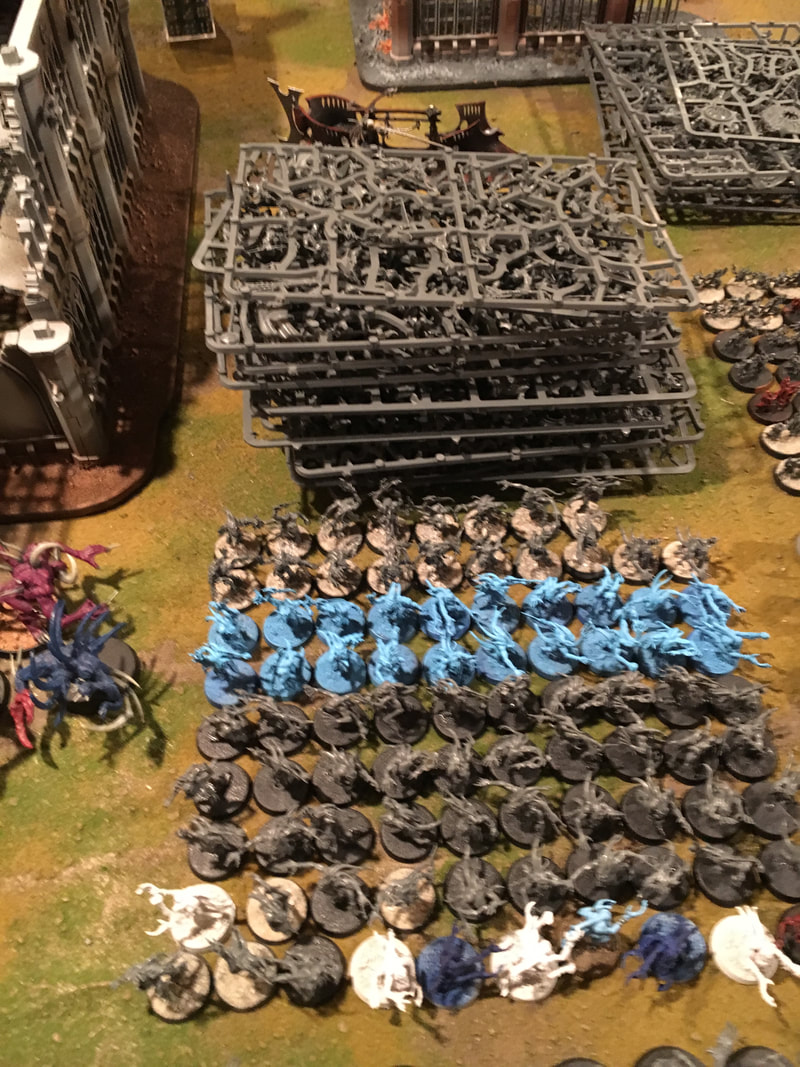
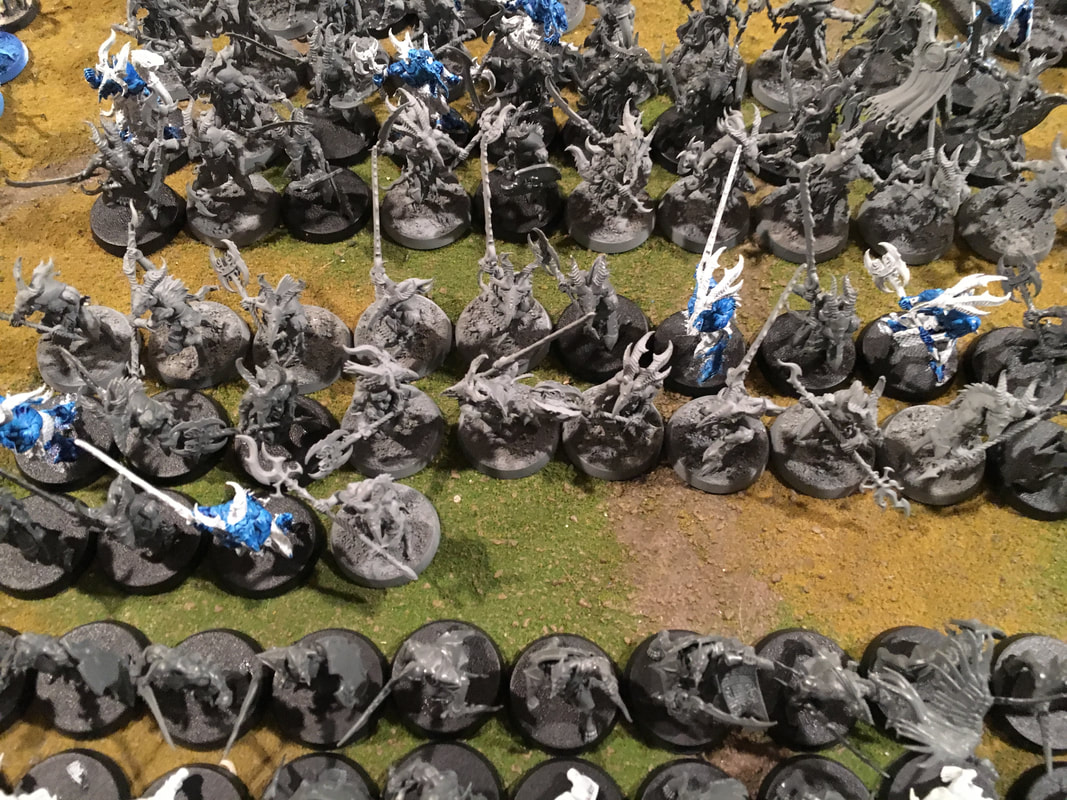
I might try to do one mini with sand, Wraithbone, and a brown Contrast paint just to see how it goes. With the recent release of Games Workshop Contrast Paints and a STRONG desire to find a way to quickly paint 200+ goblins to tabletop standard, I decided to give Contrast a go. I'm hoping I'll be able to somewhat rapidly get my army ready, and in a state that if I wanted to do some more advanced stuff, I always could revisit. The first stages so far have yielded some pretty nice results. I'm going to track the step by step process here! Step 1: To begin, I base coated the minis with Grey Seer. Being predominately black, I figured this would be better than Wraithbone. I might give that a try on Trolls. Step 2: Next, I layered on Black Templar over the robes, pretty thick (went over a few larger areas twice even). I tried to be careful but naturally some got on other parts. I will touch that up later. The pics below doesn't look great, partly because the minis were still drying. When dry, I think it looks solid. Step 3: After the Black Templar was mostly dry I touched up the non-black areas with out-of-the-pot Grey Seer. Then I hit the flesh with Ork Flesh and the shoes with Snakebite Leather. This was my final step tonight so I'll be back with more later. From first impressions, I will say I think Contrast Paint does exactly what it claims. It's not going to make you a Golden Demon winner, but if you have a lot of models and not a lot of time, it could go a long way in helping get things table ready. Coincidentally, I'm not sure it's a great paint for beginners. It takes some control to prevent the colors from running into areas that one color doesn't belong. I could see this frustrating new painters who have to keep re-painting base Grey Seer or Wraithbone. It's also unforgiving, and mistakes take a bit more time than regular painting.
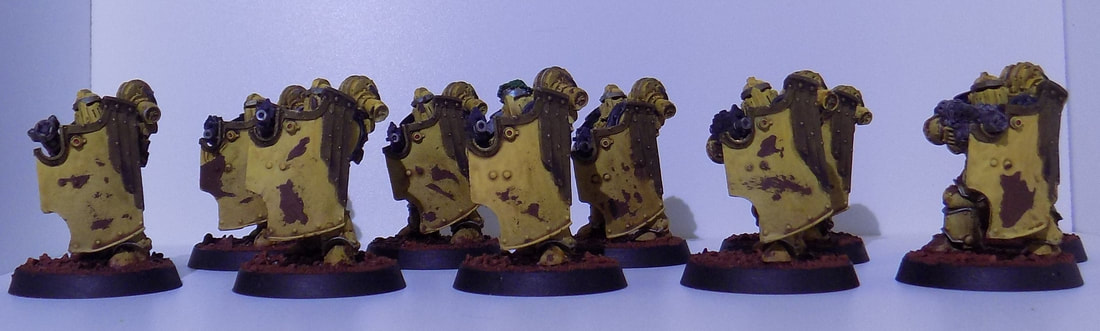
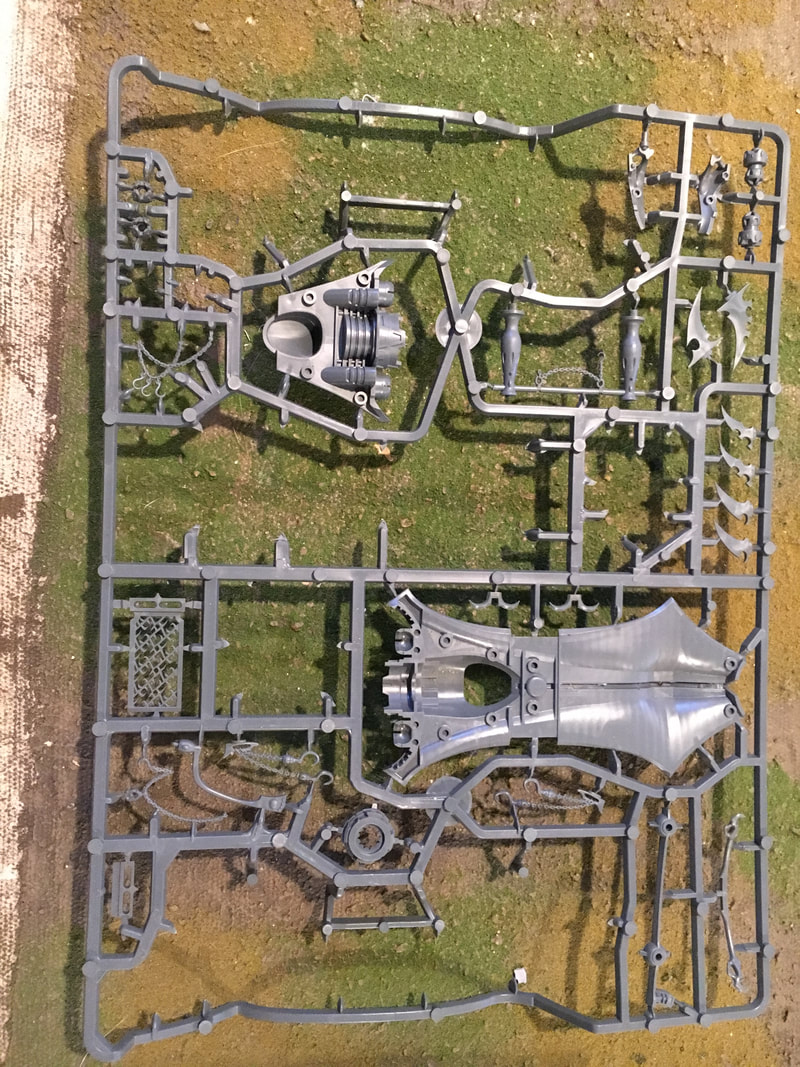
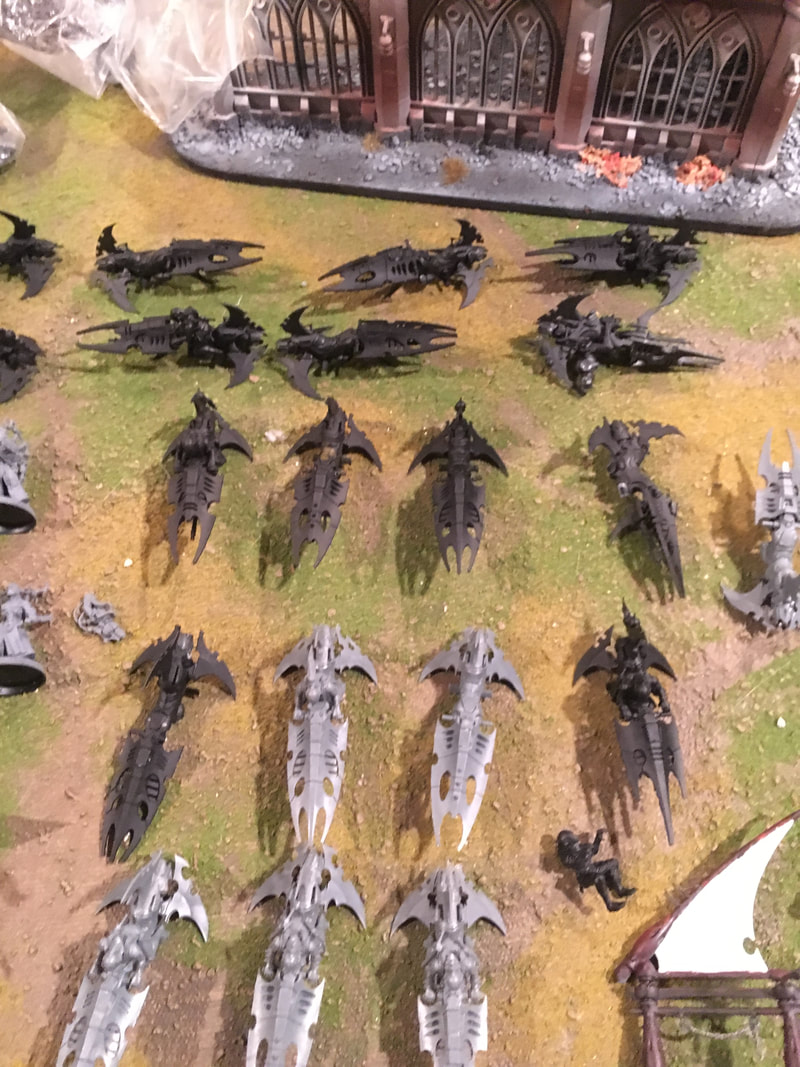
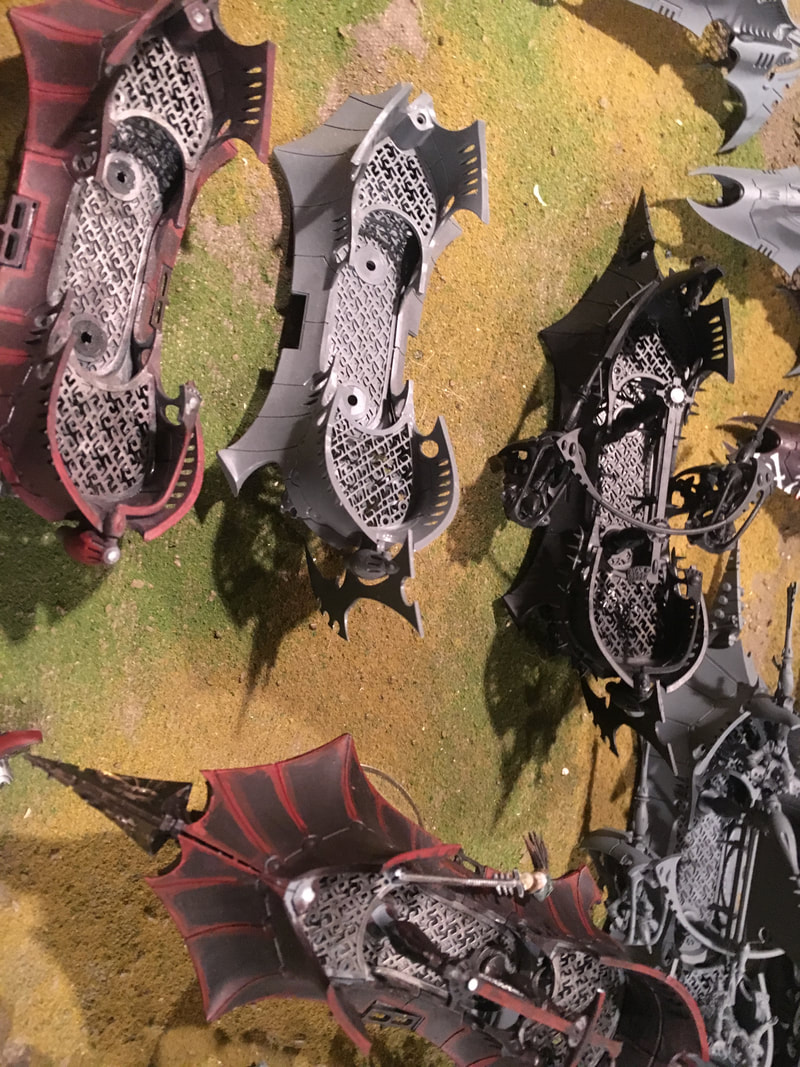
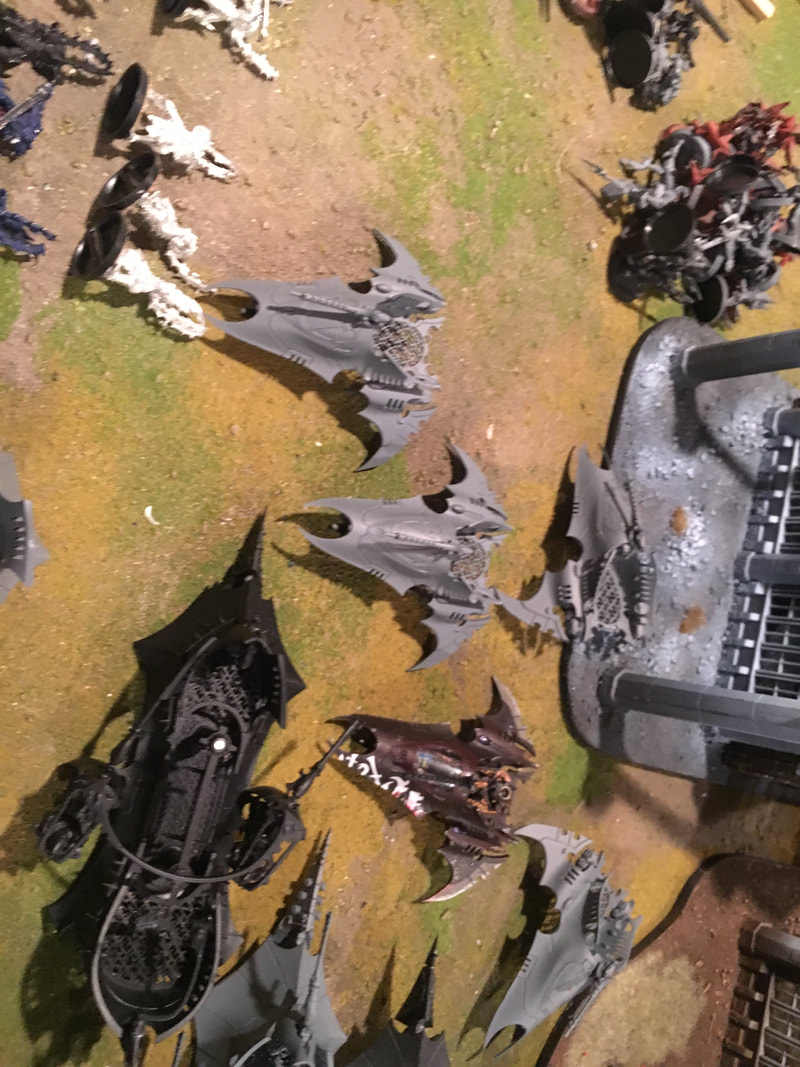
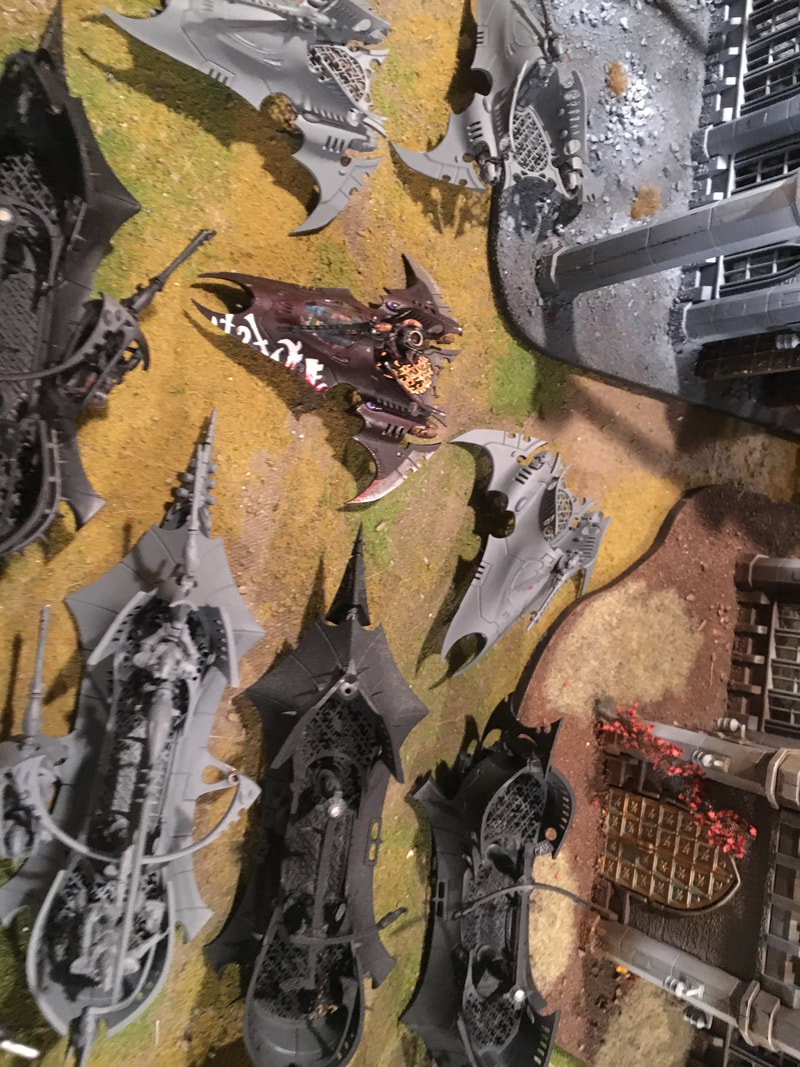
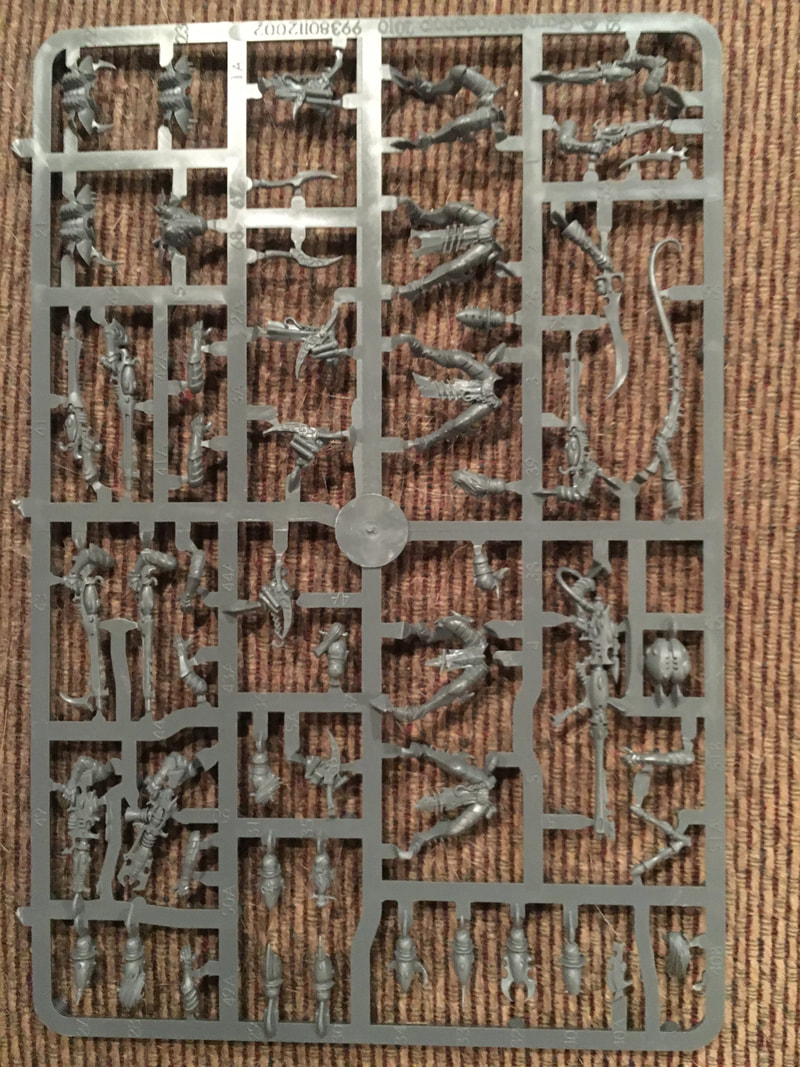
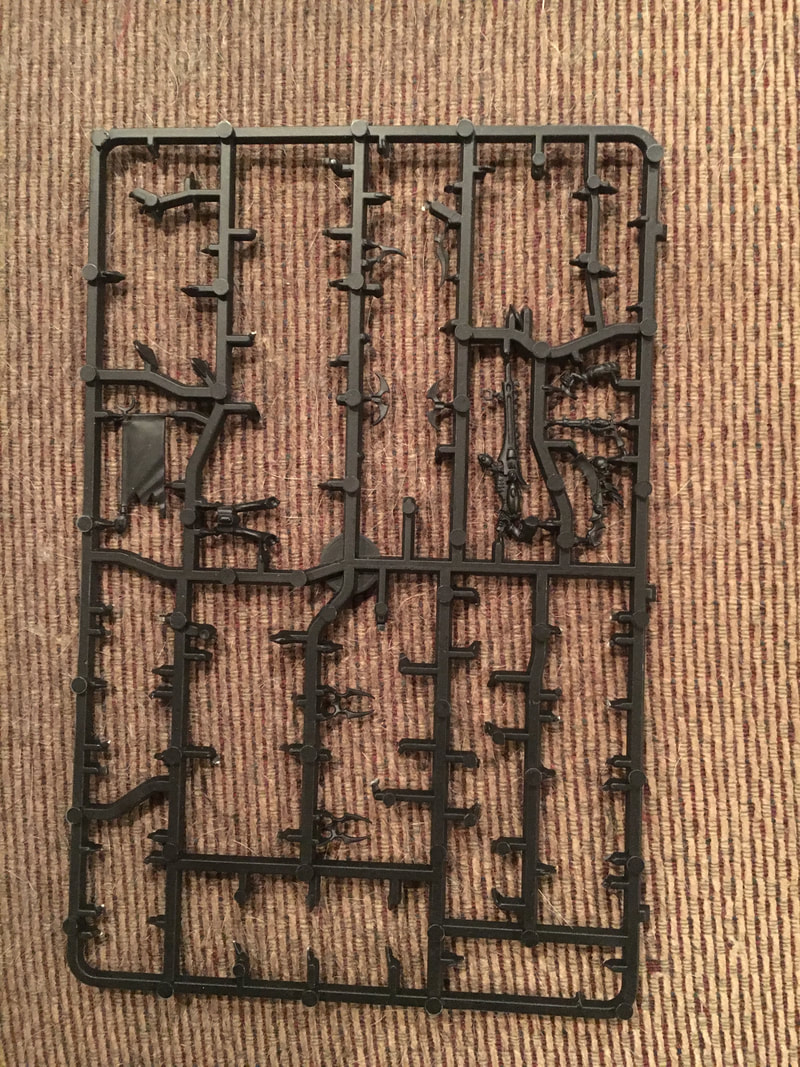
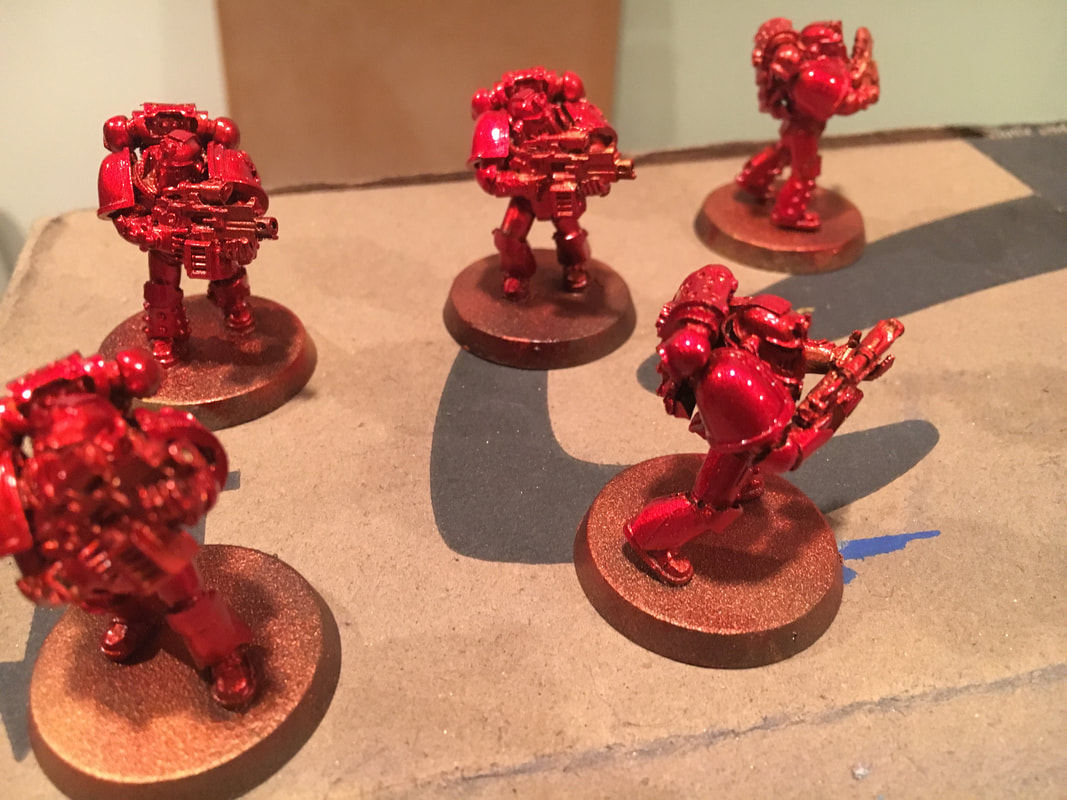
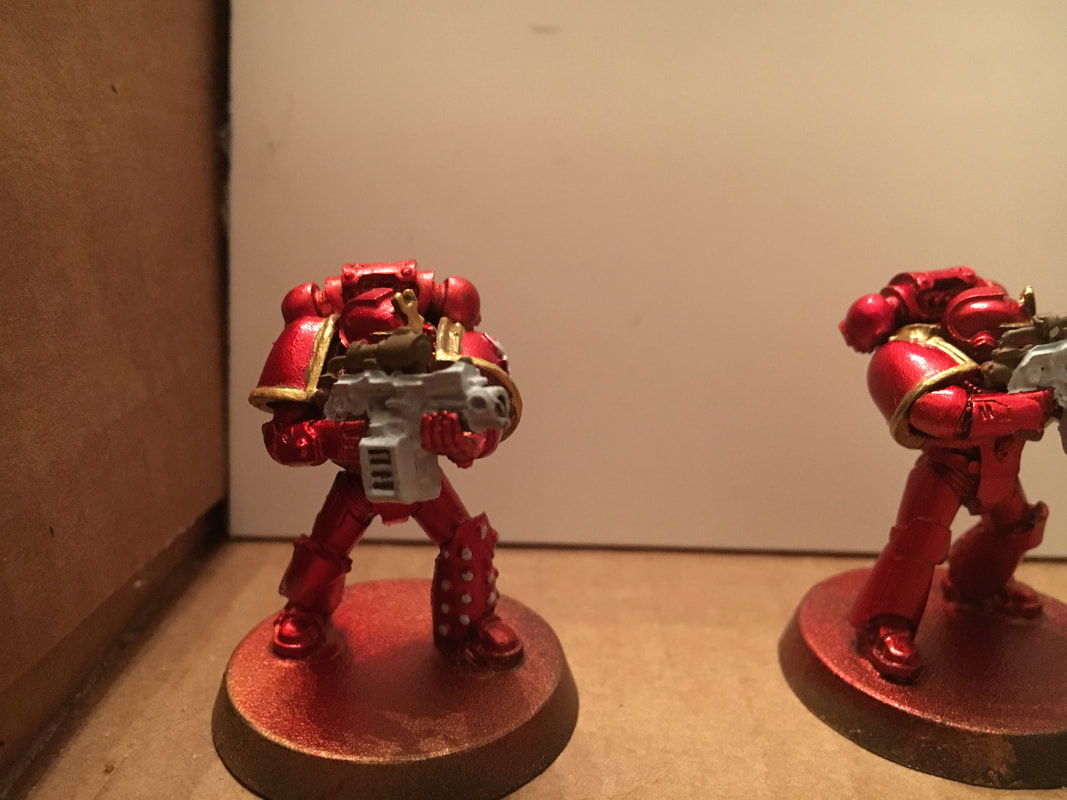
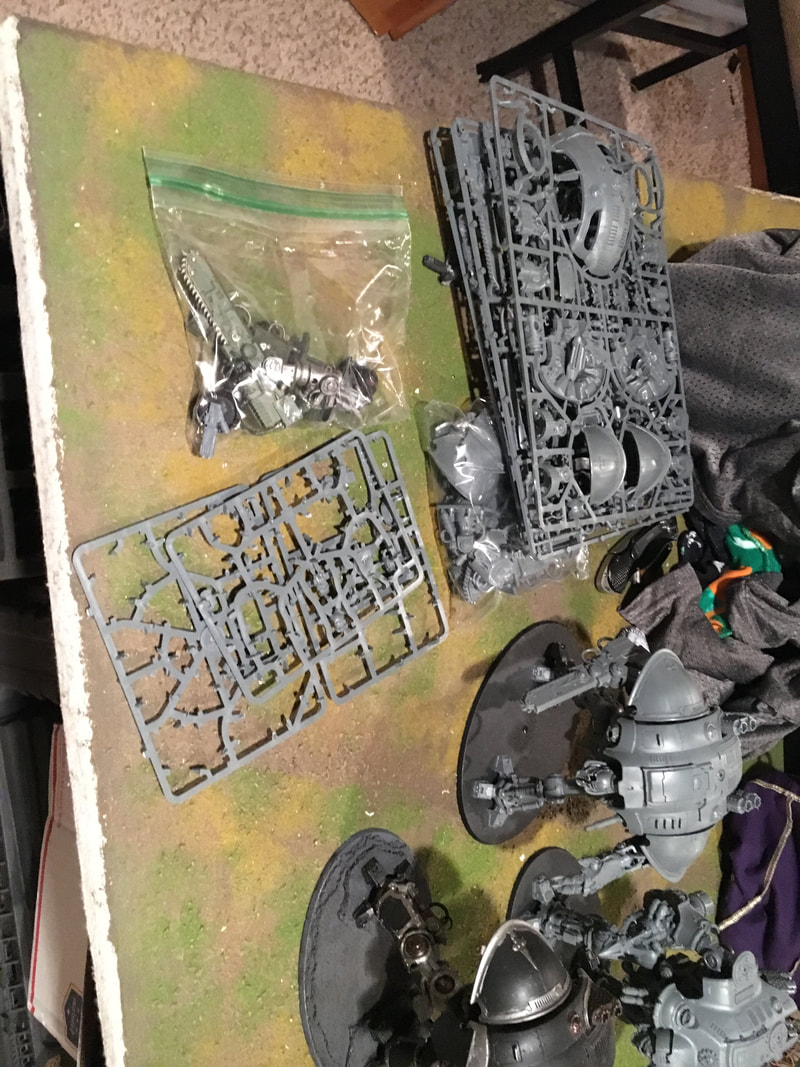
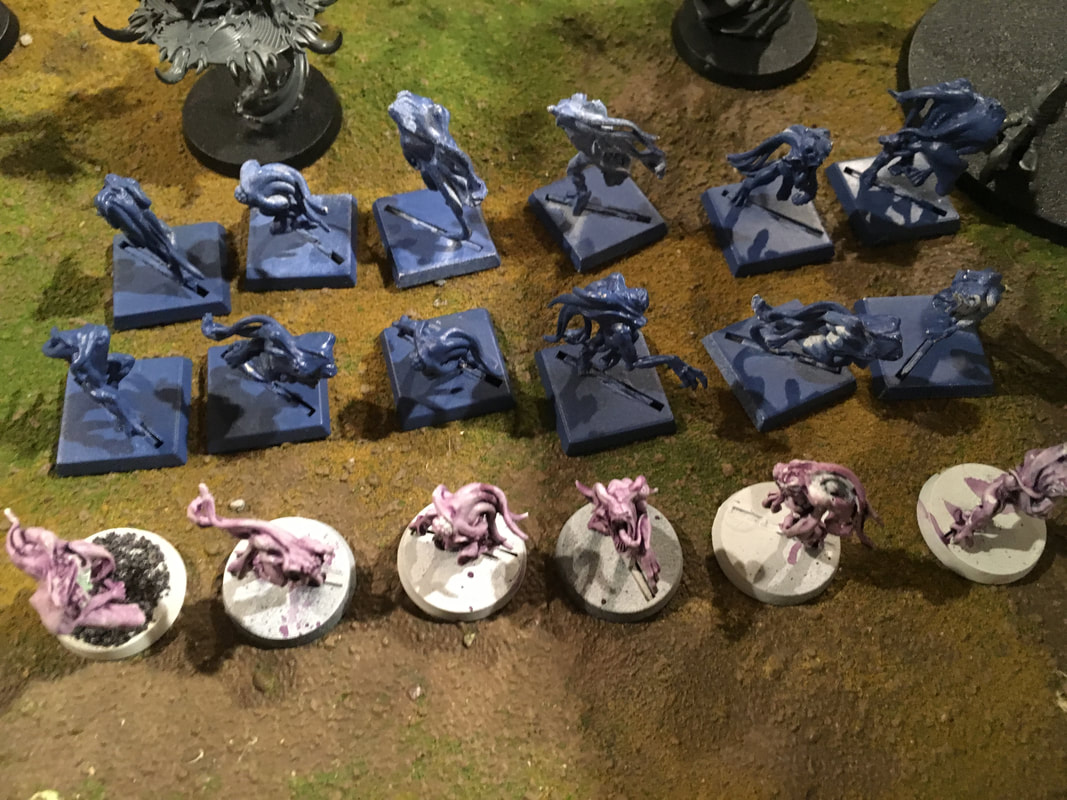
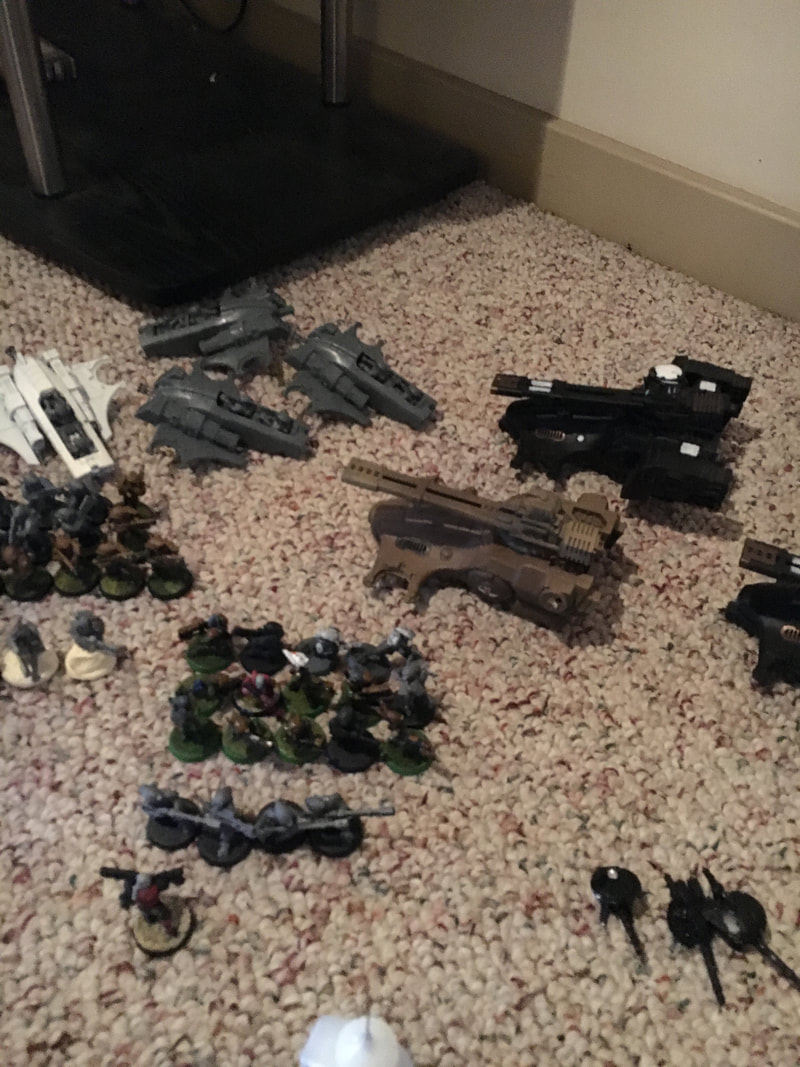
Hey all, I decided to throw together a quick post on my recent progress on some models I've been working on. My gaming group is getting into Horus Heresy 30k, and I picked up Thousand Sons. Below is just a quick rundown of how I did my first squad. I don't think the pics do them justice, and overall I'm very happy with the results! Step 1: This was just a simple brown basecoat (VMC Chocolate Brown) over a black undercoat. 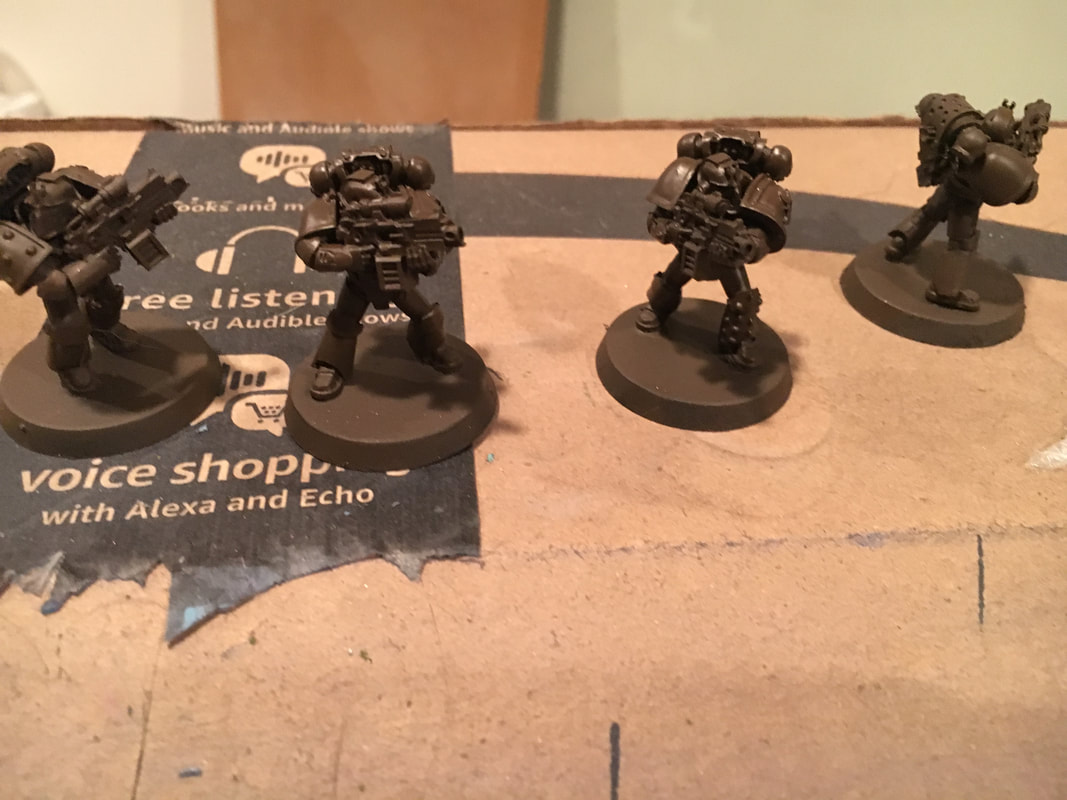 Step 2: I followed up the brown with a coat of VMC Gold. While I'm at it, this is a good time to mention I'm doing these first base steps with an airbrush. I did a trial run of brush on, but with the paints I'll use in later steps the consistency of the airbrush is nice. I use a Paasche TG-300R. 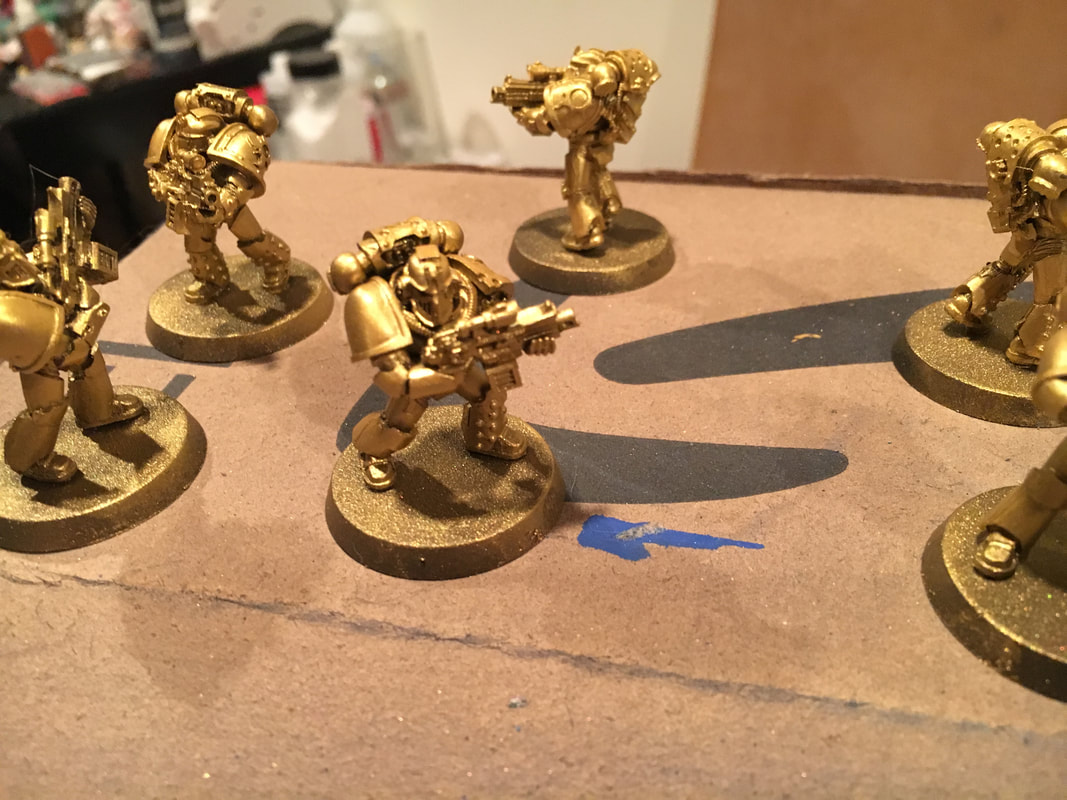 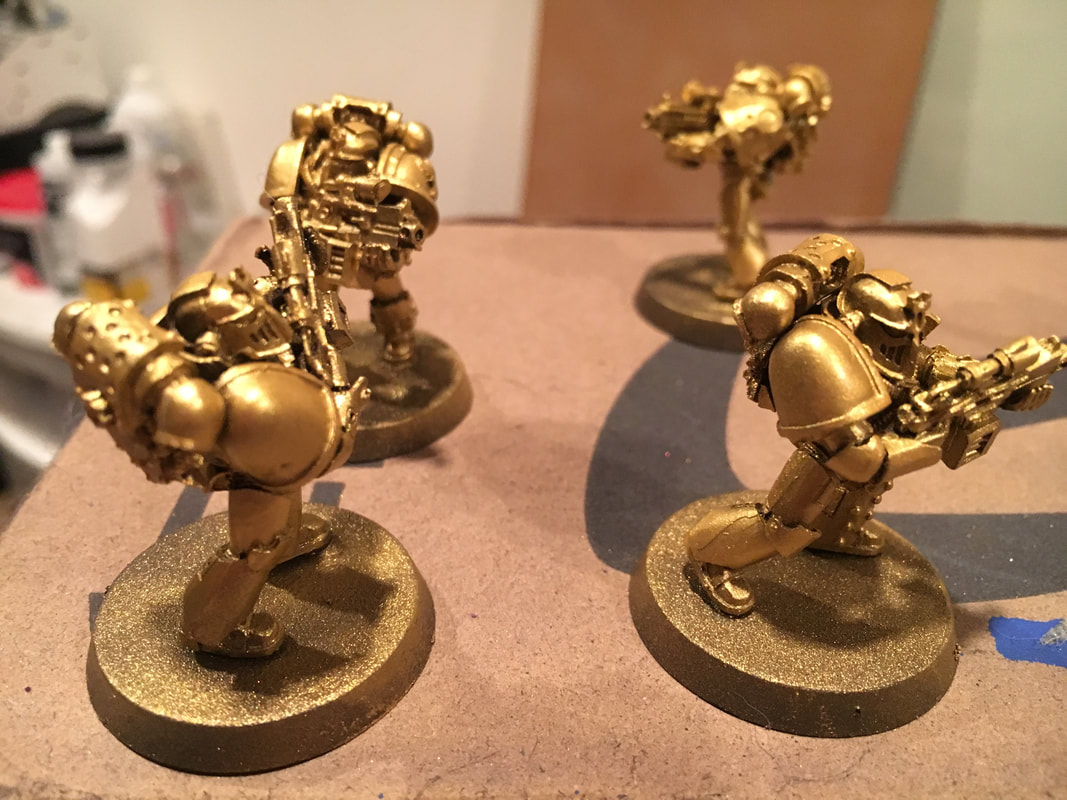 Step 3: Next is a thin coat of Tamiya Clear Red X-27. This is a somewhat syrupy gloss (but acrylic) paint. It goes on nicely and over the gold is meant to mimic a metallic red. This armor I believe is worn by later heresy era Sons. I'm trying to model off of the studio scheme from FW and also watched a few good tutorials that did different versions of this technique. Looks ok when brushed on, but the airbrush made it even better I felt. I'll probably try to go even thinner on my next squad. It muted the details a little bit being the 4th coat of paint. Also...starting here I really don't think the pics demonstrate well what this effect looks like. I'm working on getting better pics along the way next time!
Step 4: Next, combining a few steps, I did some base colors on what will end up anything other than the red. I based a lot of things in VMC US Field Drab so the shiny red doesn't show through. Then I did armor trim in VMC Gold, bolters in two tones VMC German Grey and VGC Ghost Grey.
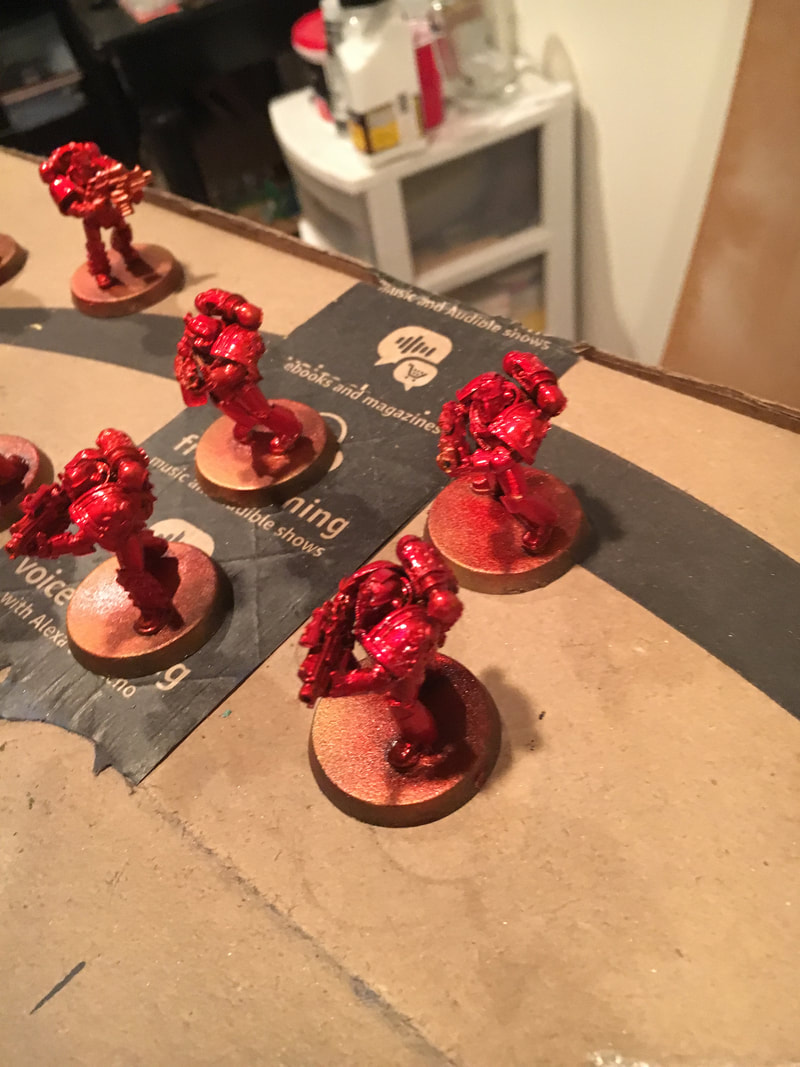
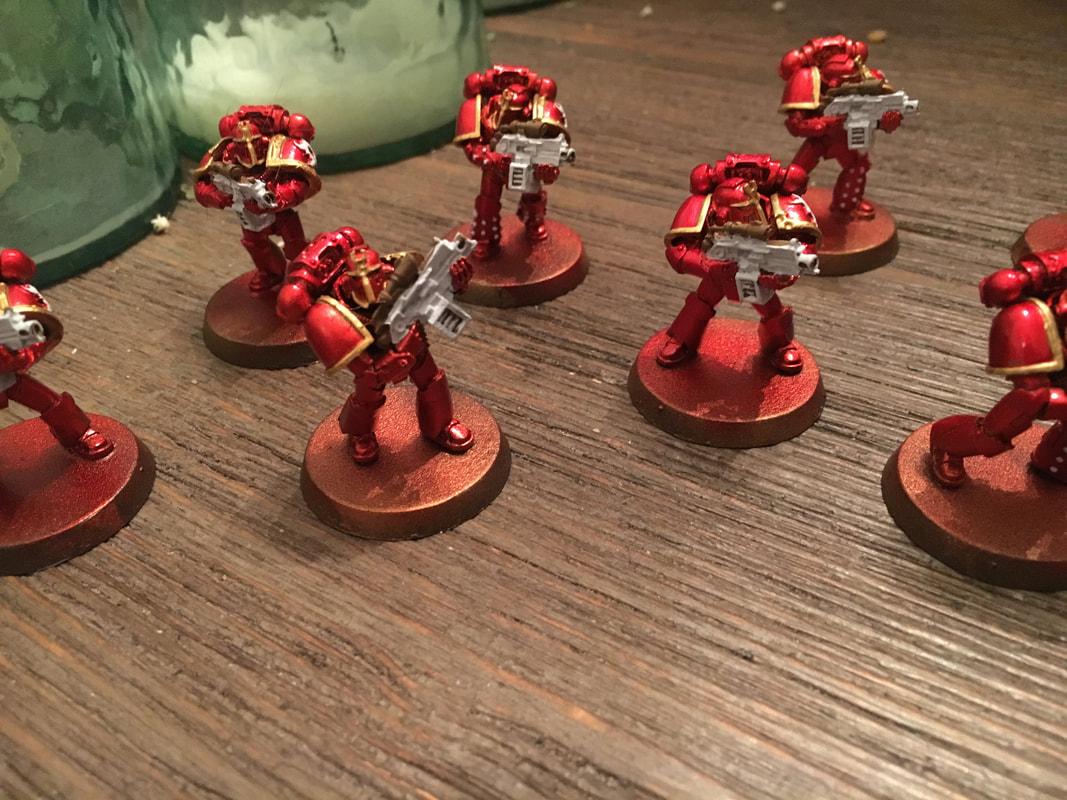
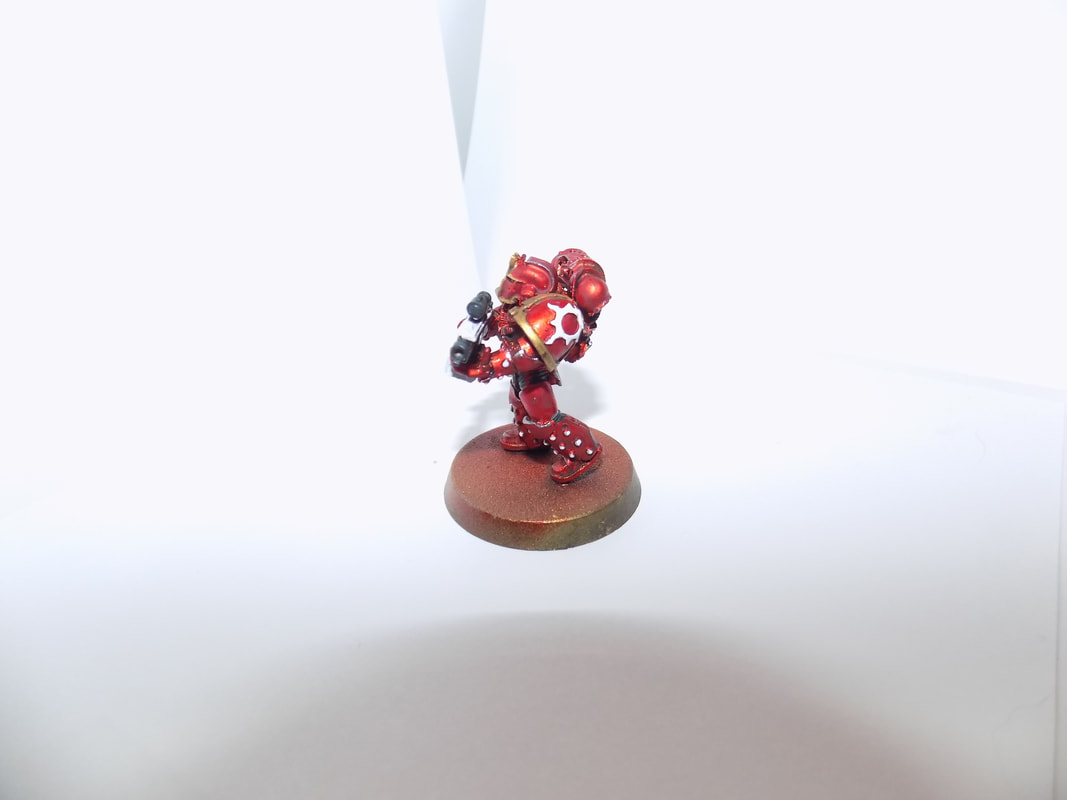
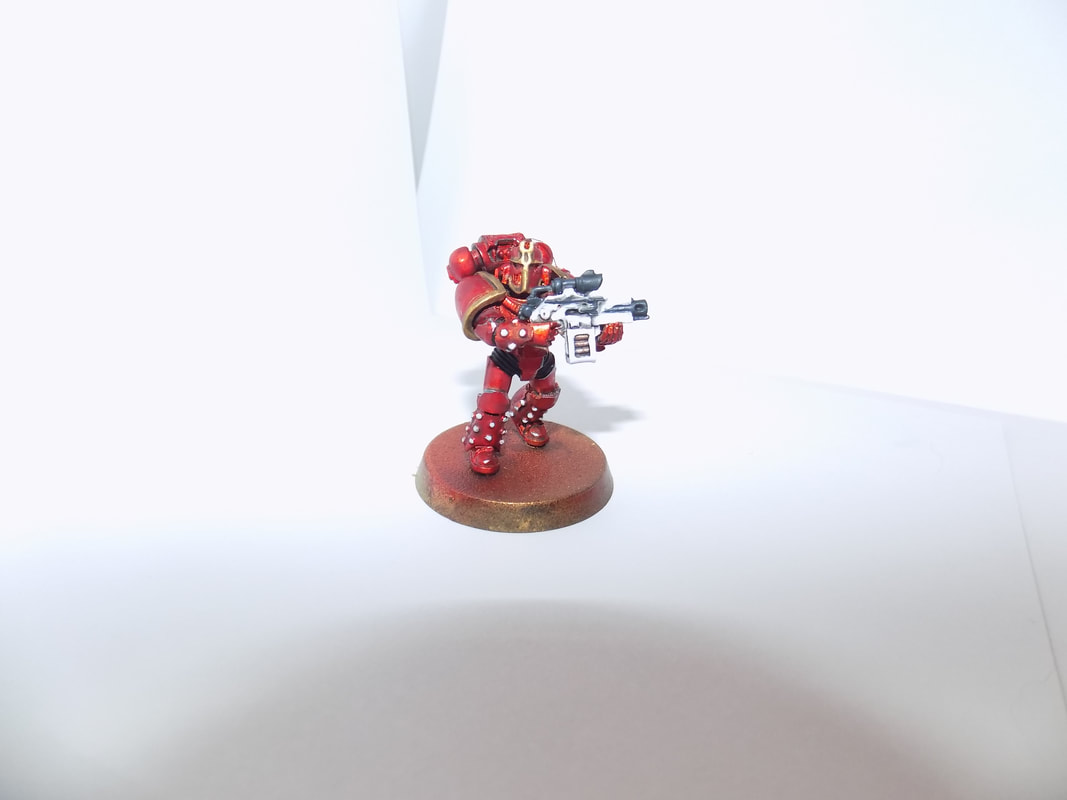
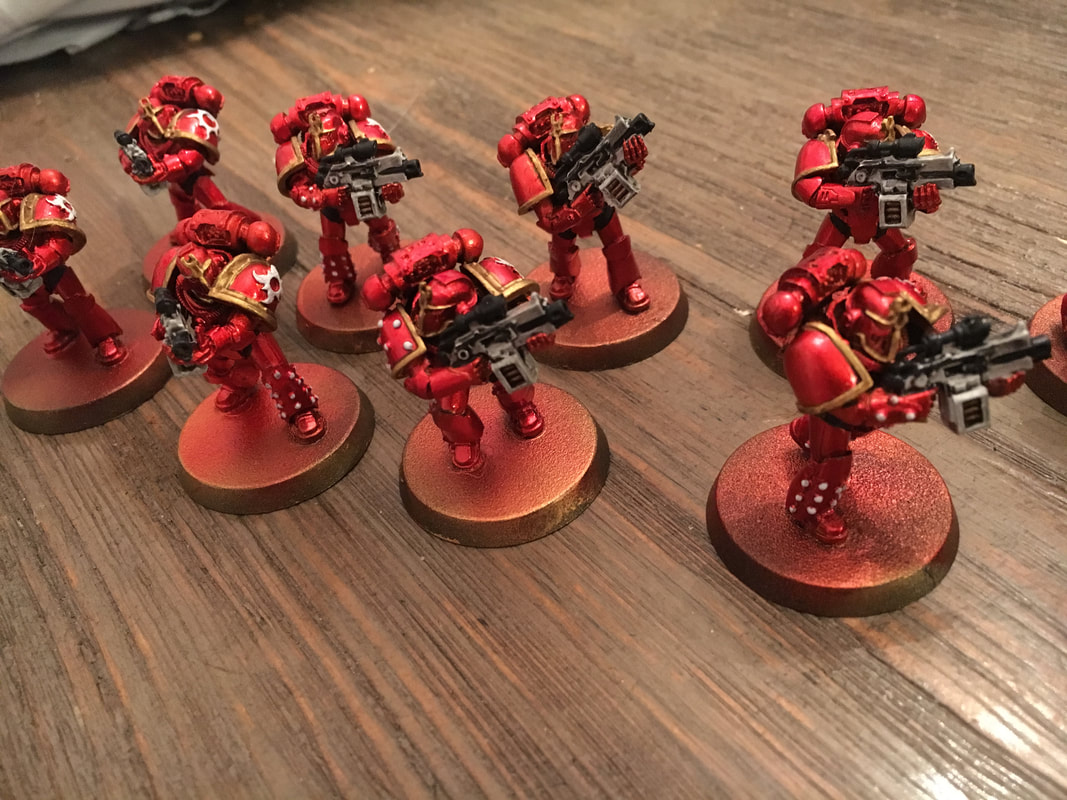 Step 5: At this point I did a GW Nuln Oil wash over the entire model (last pic above only the bolters were washed). I had to be careful not to let any pool and stain the larger armor panels, and going forward I think could probably thin the wash down a bit an get a slightly better look. Lastly I used VMC Natural Steel to do just a few edge highlights on some of the red parts. Breaks up the large amounts of red panels quite nicely. When I've done this a few times and I've gotten the hang of it I think it'll look even better. Again, pics aren't great but they do look solid in person I think.
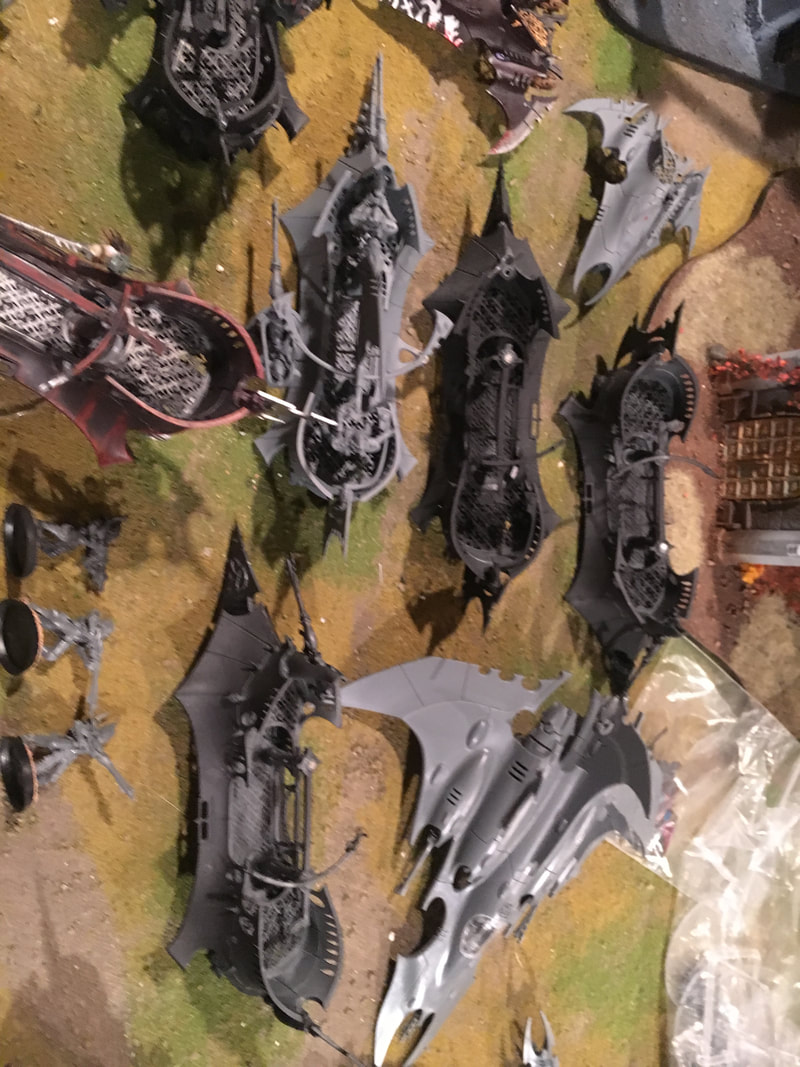
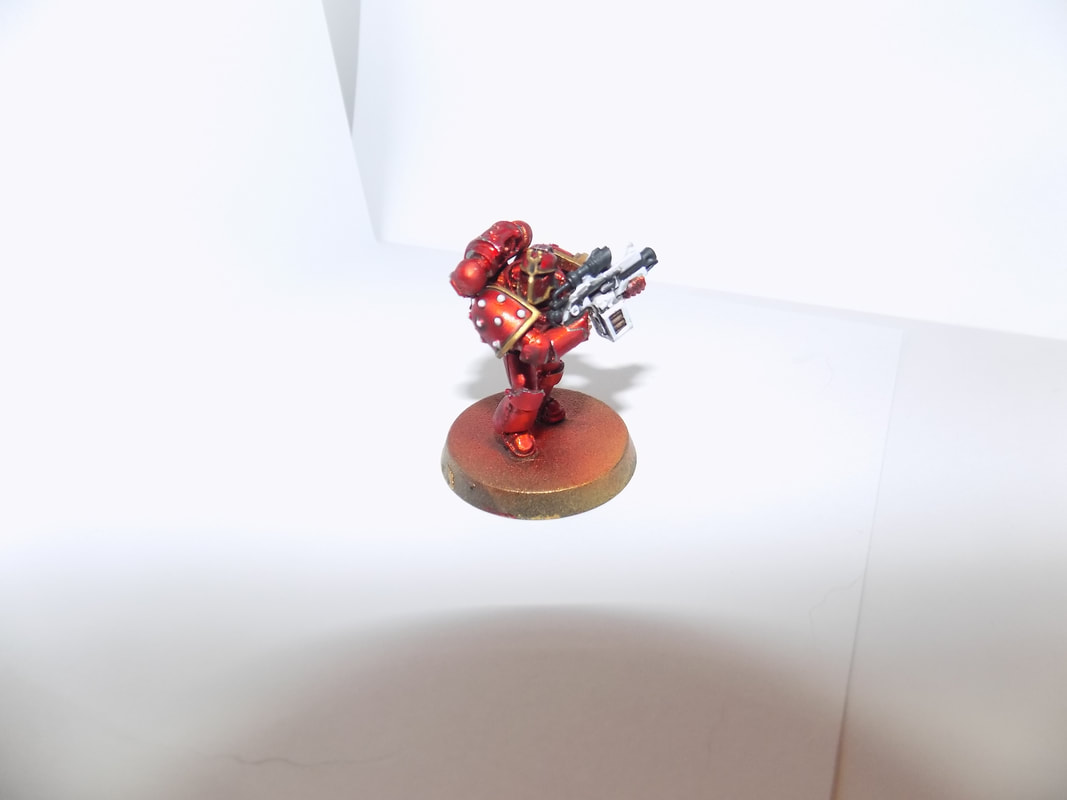 So, when all is said an done, I'm pretty happy with how they look. On future squads I plan to do the bolters in white/gold rather that black/white. I am waiting on some craft crackle medium for basing. I'm planning some desert bases that will compliment the red nicely. Thanks for looking!
|
D. ParksArchives
August 2021
Categories
All
|
|
|


 RSS Feed
